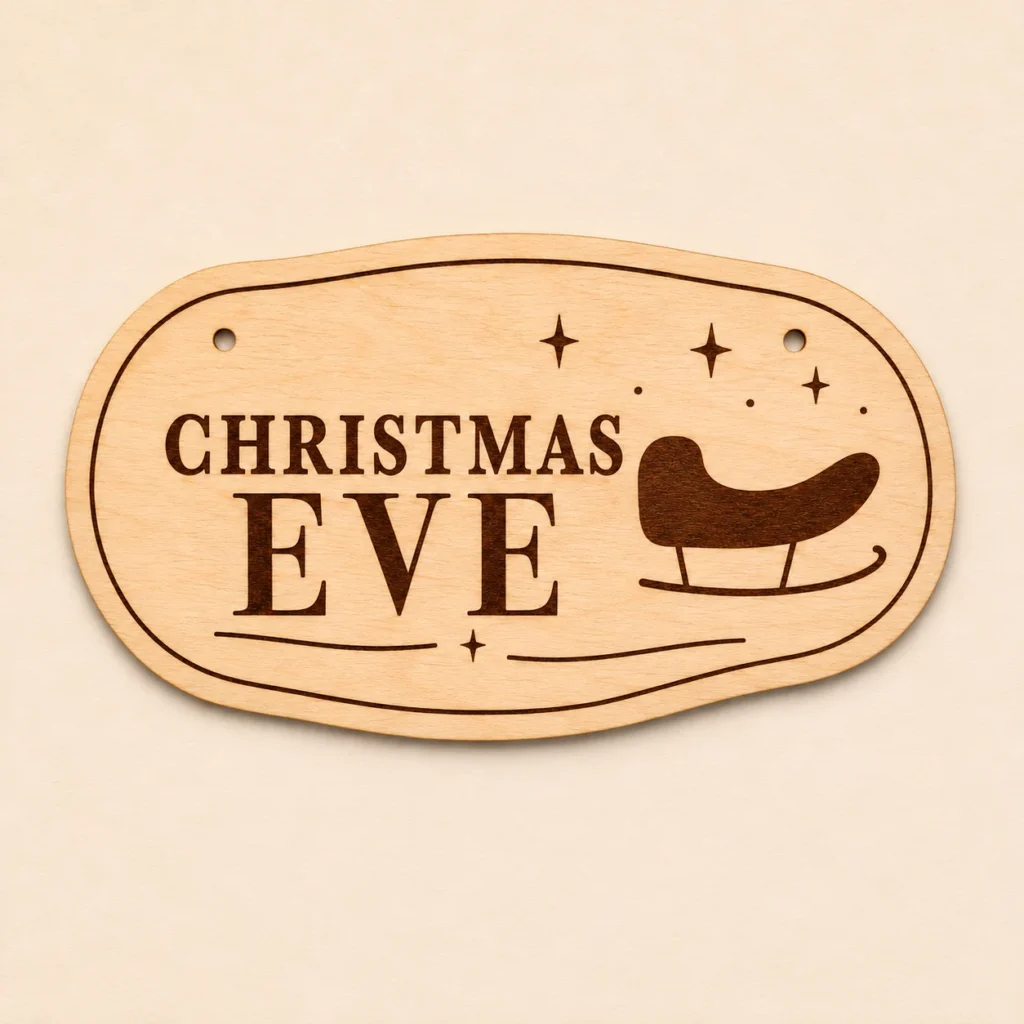
A small scene for the night before Christmas
A sleigh under the stars
Starlit Sleigh is a Christmas Eve sign SVG with engraved lettering, a sleigh and a scatter of stars. The wide plywood plaque suits a seasonal display near a tree, an indoor entry or a shelf with Christmas Eve traditions.
A short final word under the night sky
CHRISTMAS sets the first line in sturdy serifs. The larger EVE brings finer strokes and taller forms to the second line. The lettering fills the left side, leaving the sleigh and small stars on the right. Curves along the sleigh’s runner and inset border follow the low, rounded shape.
The wide plaque can anchor a low seasonal display. Arrange it so the shallow profile and small stars remain visible against the other decorations.
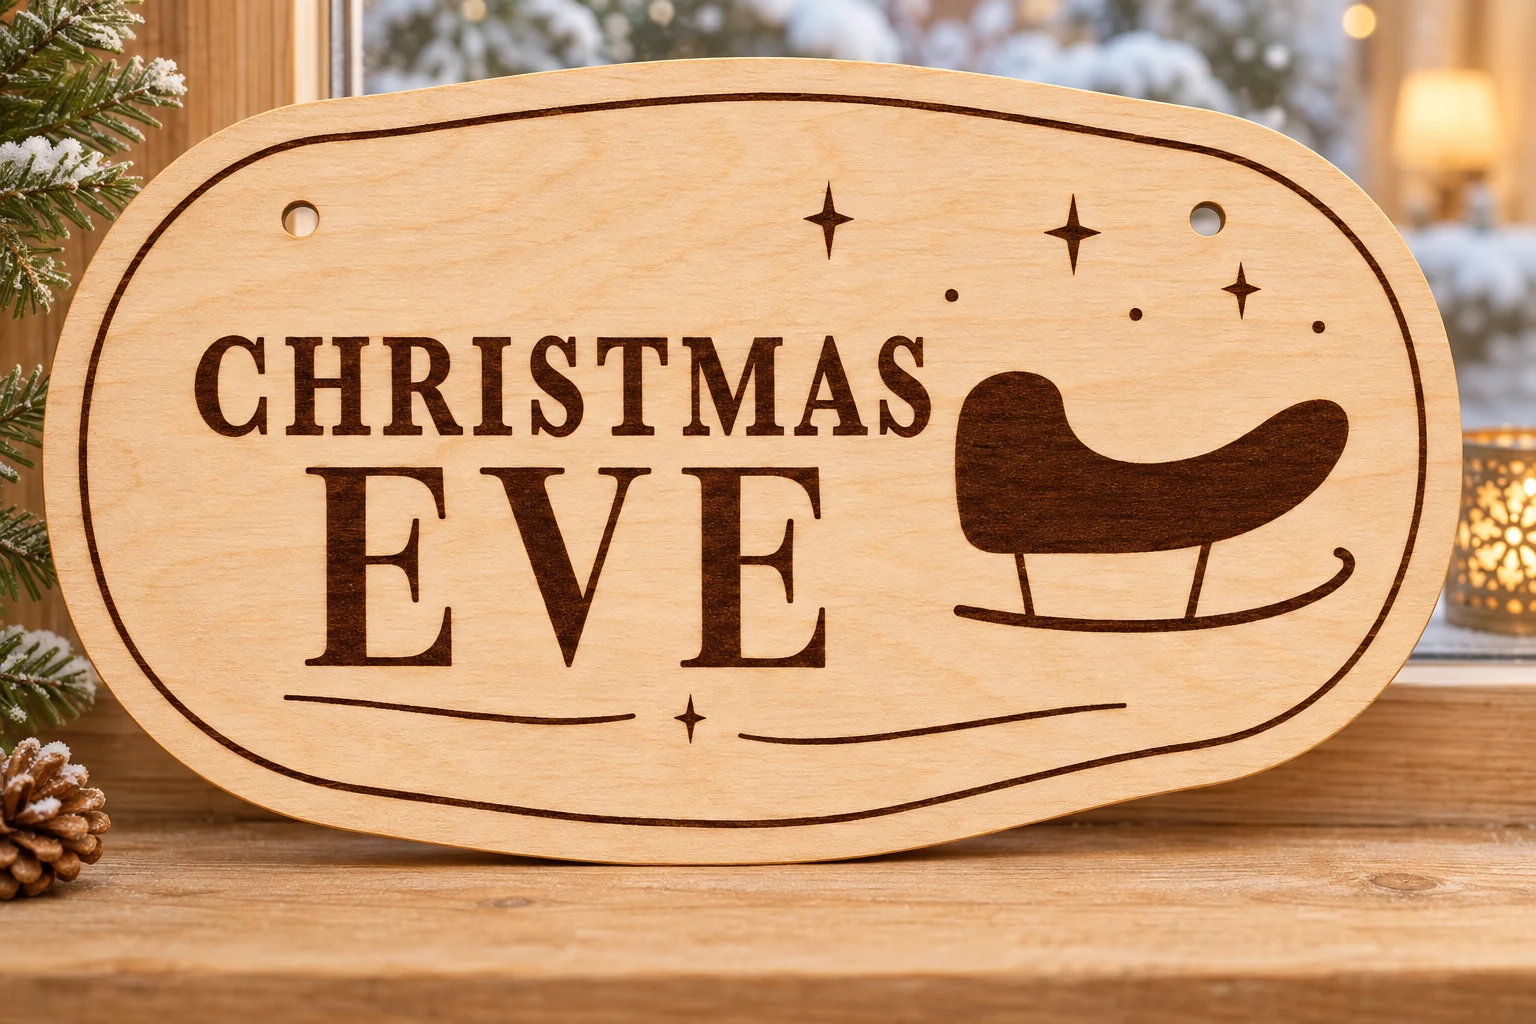
Size, paths and mounting
| Digital files | sign.svg, README.txt and design-map.png in a ZIP |
|---|---|
| Cut profile | Wide plaque with a rounded wave edge, 226 × 126 mm at the supplied scale |
| SVG page | 236 × 136 mm |
| Mounting | Two round cut holes, each 5 mm in diameter at the supplied scale. Choose your own cord or hardware. |
| Red CUT | Three closed contours with centered 0.025 mm strokes. Two holes and one outer profile. |
| Black ENGRAVE | Filled artwork, inset border and outlined lettering for area engraving. |
| SKU | VD-SS-SIGN |
Dimensions describe the vector geometry before kerf. Allow the machine’s required clearance.
Set up the plaque
-
Confirm scale and stock
Extract the ZIP and import sign.svg at the supplied scale. Check the 226 mm outline width and preview the filled sleigh and star shapes. Reserve enough room on the bed for the outer cut and required clearance. Use uncoated plywood approved for your laser, including its glue and actual thickness. Test engraving, cutting and kerf on matching scrap.
-
Set each operation
Assign black fills to engraving and red paths to through-cutting. Where supported, engrave first, cut the holes next and release the outer profile last. Follow manufacturer instructions for exhaust, stock support and supervision.
-
Check the finished fit
Make a complete prototype and measure the holes. Select cord or fasteners to suit the finished weight and mounting surface. Fit hardware after processing.
The vector geometry was checked digitally. Test a physical sample on your machine. Develop settings for your equipment and plywood. The file includes no universal laser preset.
Import and prepare the SVG
Glowforge. Upload the SVG in the app supported by your model. Check the size, set red to Cut and set black to Engrave.
xTool Studio or XCS. Use the version supported by your machine. Check scale after SVG import, since import DPI can affect dimensions. Assign the closed red profiles to Cut and the filled black shapes to Engrave.
Epilog. Use Pulse SVG import on supported models and firmware. On a vector editor and Dashboard workflow, preserve the centered 0.025 mm strokes and check that the driver recognizes them as vector cuts. Keep black fills on the engraving process.
Other CO₂ or diode lasers. Check machine support for the plywood and its thickness. In supported software such as LightBurn, verify the millimeter dimensions and set red to a cutting Line layer and black to an engraving Fill layer. Preview the job and confirm the planned order.
Common questions
What is included in the download?
The ZIP contains sign.svg, README.txt and design-map.png. Process the SVG. The English guide explains setup and use, and the PNG shows the layout for reference. The download contains digital files only.
How large is the Christmas Eve sign?
The outline is 226 × 126 mm on a 236 × 136 mm SVG page. The sleigh, stars and CHRISTMAS EVE are filled vectors for engraving. Check the full outline width against the usable bed and inspect the smaller star points on a material test.
Can I use this file on Glowforge, xTool or Epilog?
Yes, through the supported import workflows above. For CO₂ or diode setups, check usable bed space and approved plywood thickness. Verify size and operation assignments before processing.
Can I resize it or sell finished signs?
Scale every path together and recheck engraving detail, hole diameter and edge clearance. You may sell finished signs you make. Keep the original and modified digital files for your own use. See the README for terms.