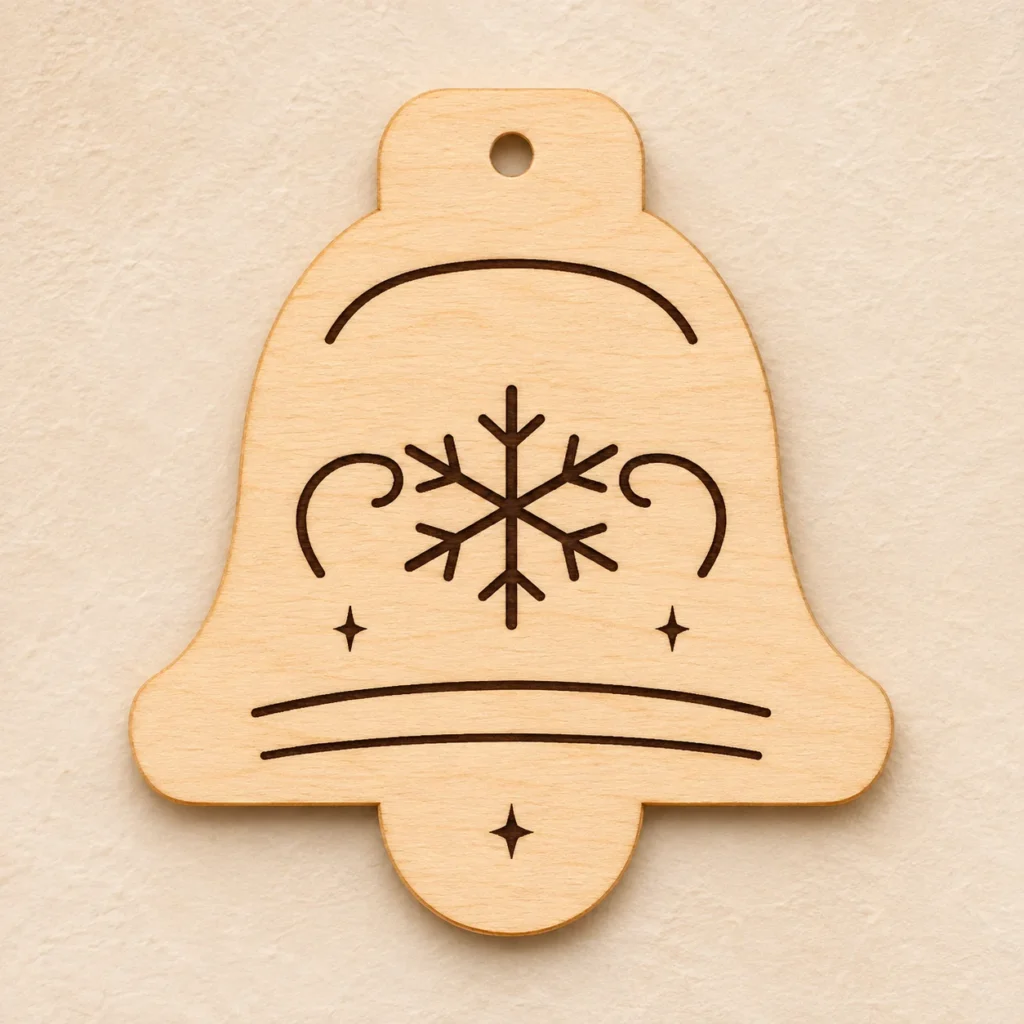
A snowflake inside a Christmas bell
A wide bell rim and a small clapper
Snowbell Chorus is a Christmas bell ornament SVG for a one-piece plywood decoration. The bell outline includes a rounded clapper and frames an engraved snowflake between two curved flourishes.
Curves that follow the bell
The central snowflake branches across the dome. Mirrored swoops draw the eye toward the lower flare, where the rim flattens before the clapper rounds out the profile. The snowflake and swoops stay within the bell face as filled engravings.
Use the bell as a small tree decoration or add it to a seasonal garland with your own cord. Check the clapper and the points of the engraved snowflake when you inspect the first sample.
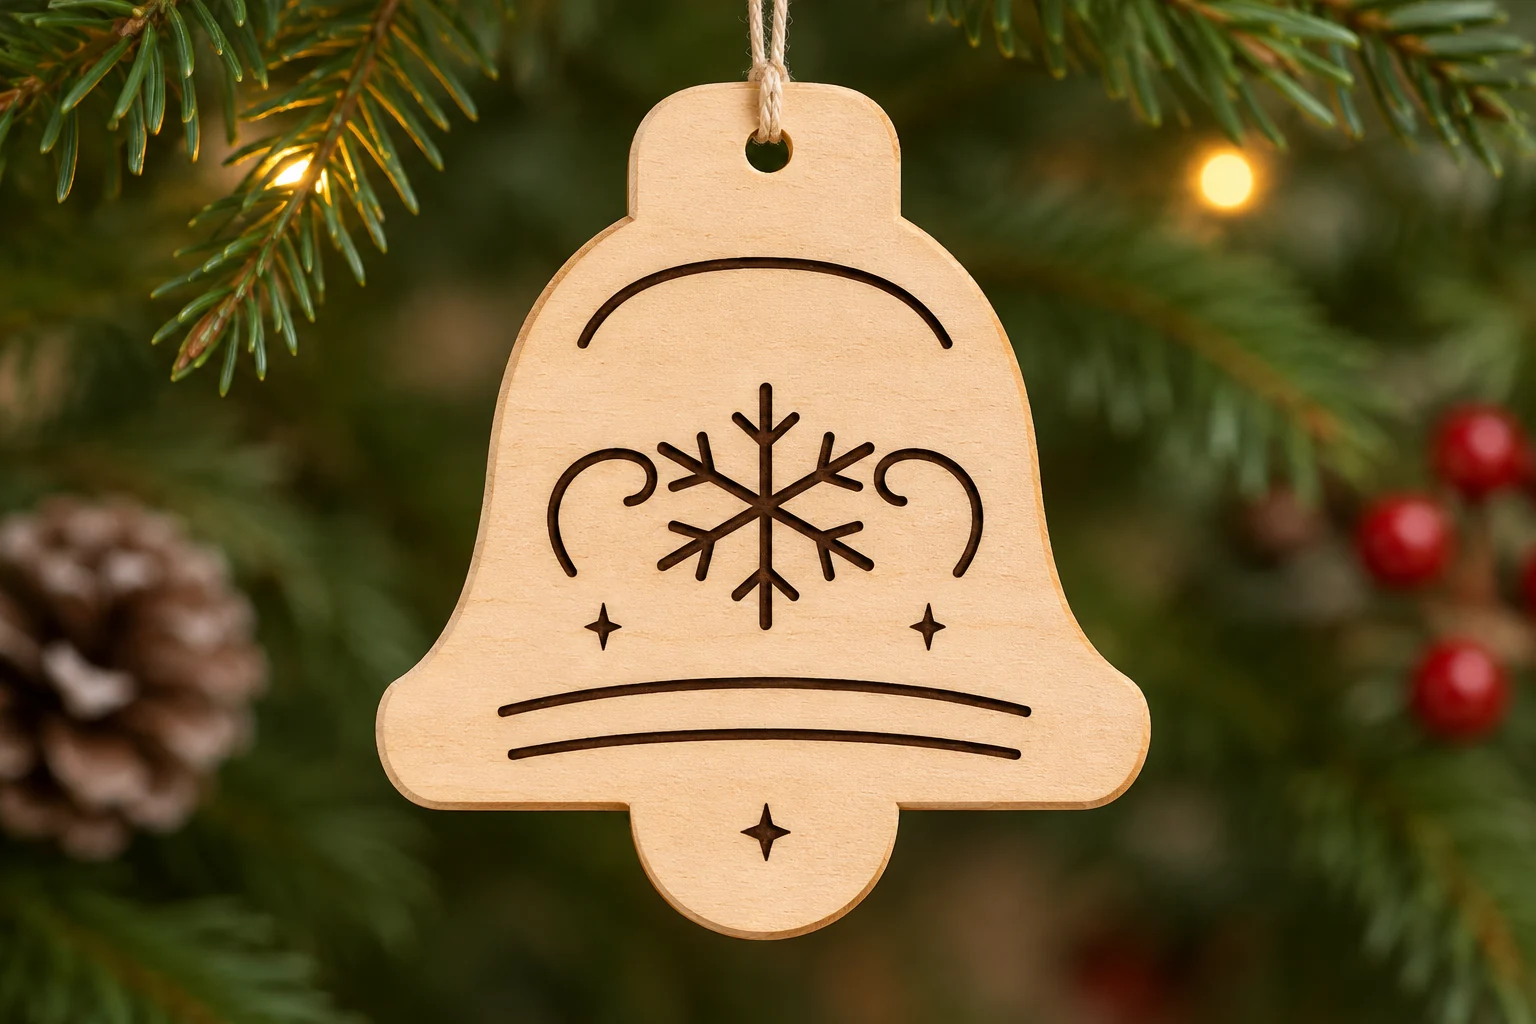
Size, paths and hanging hole
| Download | ornament.svg, README.txt and design-map.png in a ZIP |
|---|---|
| Cut profile | Bell dome with a flared rim and rounded clapper, 83 × 91 mm |
| SVG page | 93 × 101 mm |
| Hanging hole | One round 4 mm cut hole at the top |
| Cut paths | Two closed red contours for the hanging hole and outer profile, with centered 0.025 mm strokes |
| Engraving | Central snowflake and mirrored curved flourishes |
| Material | Uncoated plywood approved for the exact laser and operation. Nominal 3 mm plywood is a starting point if the stock is approved. |
| SKU | VD-SC-ORN |
The dimensions describe the vector geometry before kerf. Leave the clearance your machine requires and allow for the thickness of the cord.
From SVG to a hanging decoration
-
Import and check scale
Extract the ZIP and import ornament.svg at its supplied size. Test a scrap of the same approved plywood. Preview the clapper as part of the outside contour and the snowflake and curved ornaments as engraving.
-
Assign cut and engraving
Assign the black fills to engraving and the red paths to cutting. Where the controller supports it, engrave first, cut the hanging hole and release the outer profile last.
-
Fit the hanging cord
Once the piece has cooled, remove loose residue and test your chosen cord in the hole. Choose a cord that fits the finished diameter and supports the weight of your ornament.
The geometry was verified digitally. Make a physical test piece to check settings, engraving contrast and cord fit.
Prepare the file for your machine
Glowforge. Import the SVG in the app supported by your model. Compare the cut size with the dimensions above, assign black to Engrave and red to Cut, and preview the operation order.
xTool Studio or XCS. Use the software supported by your machine and check the SVG import DPI. Verify the resulting size in millimeters. Assign black fills to Engrave and the thin red outlines to Cut.
Epilog. Use Pulse SVG import on supported models and firmware. In a vector editor and Dashboard workflow, retain the centered 0.025 mm red strokes and check that the driver recognizes them as vectors. Route the black fills to engraving.
CO₂ or diode lasers. Use an SVG workflow such as LightBurn with equipment it supports. Verify the size and that the stock and its adhesive are suitable for your wavelength. Set red to a cutting Line layer and black to an engraving Fill layer. Follow your machine’s exhaust and supervision instructions and derive settings from a scrap sample.
Common questions
What comes with the digital download?
The ZIP contains ornament.svg, README.txt and design-map.png. Cut and engrave from the SVG. The English guide explains setup and the PNG shows the cut and engraving layout. The download contains digital files only.
Does the clapper need to be assembled?
The rounded clapper is part of the same outside contour as the bell. The cut profile is 83 × 91 mm. One red path cuts the outline and a second red path cuts the 4 mm hanging hole.
Can I use this SVG with my CO₂ or diode laser?
Use the SVG workflow supported by your controller and confirm that your plywood, including its adhesive and thickness, is approved for the machine. Verify the imported dimensions and test cutting and engraving on scrap of the same stock.
Can I resize the ornament or sell the ones I make?
Scale the profile, hole and engraved art together. Check that your cord fits and that there is enough wood between the hole and the outer edge. You may sell the finished ornaments you make. See the README for digital-file terms.