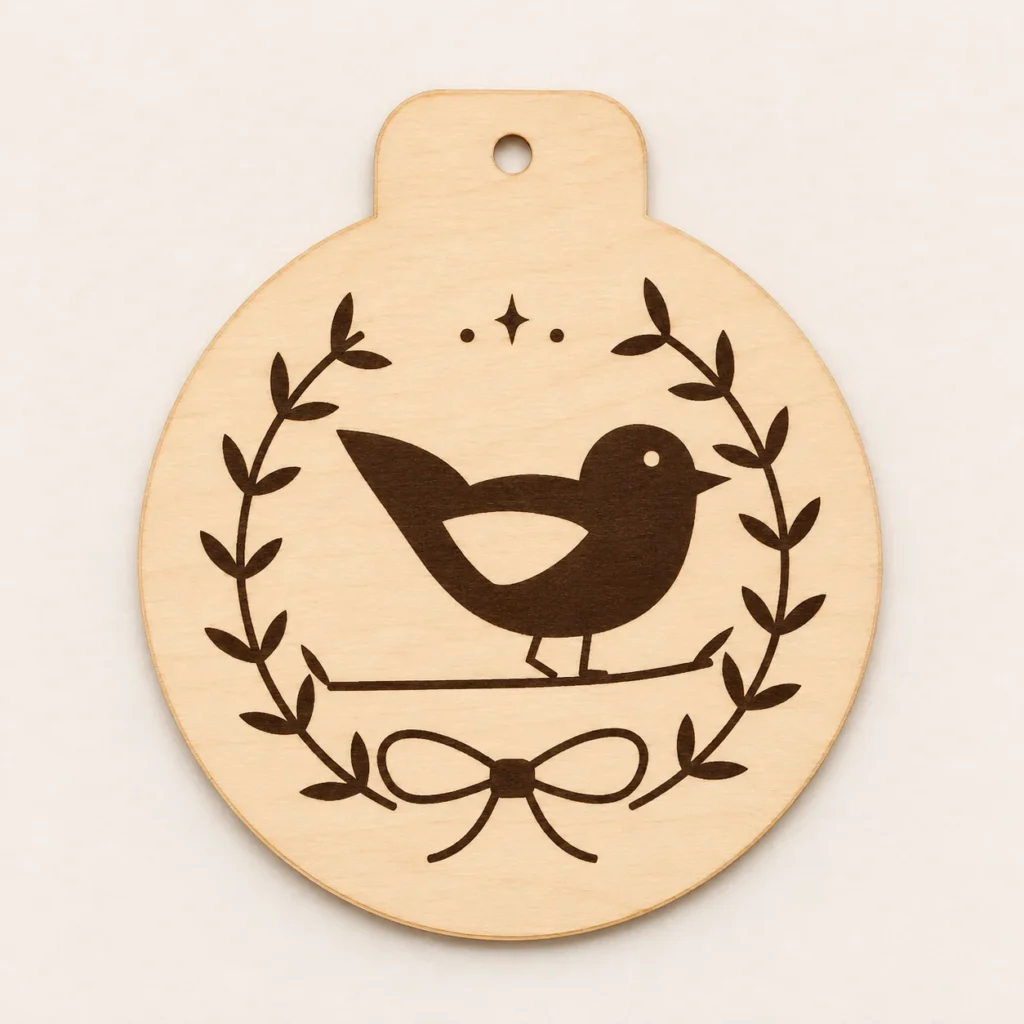
A perched wren inside a wreath
A wren and a bow on a round medallion
Ribbon Wren is a Christmas wren ornament SVG with a wreath on a single plywood medallion. A right-facing wren perches on a sprig above a ribbon bow engraved near the lower edge.
A small bird given a clear perch
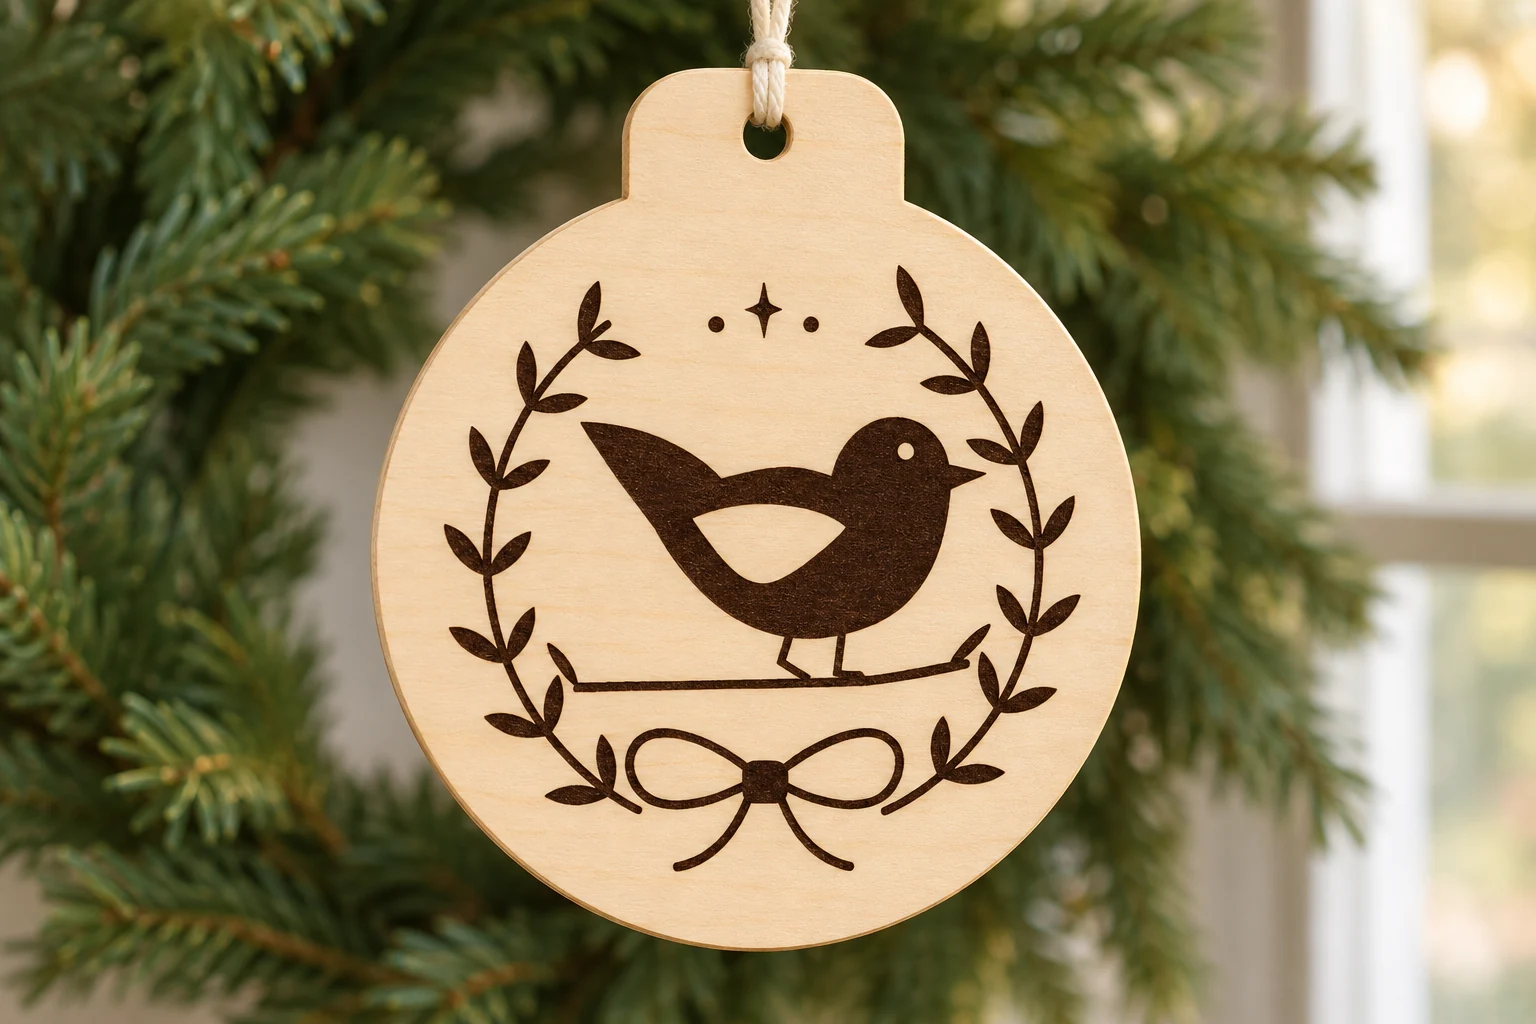
The round face frames the bird and the sprig. The bow draws the eye down and completes the wreath design. The tab sits above the medallion so the hanging cord leaves the engraving easy to see.
Hang the medallion on a tree branch or tie it to paper wrapping. Preview the gaps around the bird's feet, branch and bow when checking engraving contrast.
Size, paths and hanging hole
| Download | ornament.svg, README.txt and design-map.png in a ZIP |
|---|---|
| Cut profile | Round wreath medallion with an integral top hanging tab, 84 × 94 mm |
| SVG page | 94 × 104 mm |
| Hanging hole | One round 4 mm cut hole at the top |
| Cut paths | Two closed red contours for the hanging hole and outer profile, with centered 0.025 mm strokes |
| Engraving | Right-facing wren, sprig, wreath and lower ribbon bow |
| Material | Uncoated plywood approved for the exact laser and operation. Nominal 3 mm plywood is a starting point if the stock is approved. |
| SKU | VD-RW-ORN |
The dimensions describe the vector geometry before kerf. Leave the clearance your machine requires and allow for the thickness of the cord.
From SVG to a hanging decoration
-
Import and check scale
Extract the ZIP and import ornament.svg at its supplied size. Test a scrap of the same approved plywood. Check the small gaps between the wren, sprig and bow in the engraving preview. Keep the hanging tab part of the red outer profile.
-
Assign cut and engraving
Assign the black fills to engraving and the red paths to cutting. Where the controller supports it, engrave first, cut the hanging hole and release the outer profile last.
-
Fit the hanging cord
Once the piece has cooled, remove loose residue and test your chosen cord in the hole. Choose a cord that fits the finished diameter and supports the weight of your ornament.
The geometry was verified digitally. Make a physical test piece to check settings, engraving contrast and cord fit.
Prepare the file for your machine
Glowforge. Import the SVG in the app supported by your model. Compare the cut size with the dimensions above, assign black to Engrave and red to Cut, and preview the operation order.
xTool Studio or XCS. Use the software supported by your machine and check the SVG import DPI. Verify the resulting size in millimeters. Assign black fills to Engrave and the thin red outlines to Cut.
Epilog. Use Pulse SVG import on supported models and firmware. In a vector editor and Dashboard workflow, retain the centered 0.025 mm red strokes and check that the driver recognizes them as vectors. Route the black fills to engraving.
CO₂ or diode lasers. Use an SVG workflow such as LightBurn with equipment it supports. Verify the size and that the stock and its adhesive are suitable for your wavelength. Set red to a cutting Line layer and black to an engraving Fill layer. Follow your machine’s exhaust and supervision instructions and derive settings from a scrap sample.
Common questions
What comes with the digital download?
The ZIP contains ornament.svg, README.txt and design-map.png. Cut and engrave from the SVG. The English guide explains setup and the PNG shows the cut and engraving layout. The download contains digital files only.
Do I need to attach a separate ribbon bow?
The bow is part of the engraving. The 84 × 94 mm medallion and the hanging tab cut as a single piece. Fit your own cord through the nominal 4 mm hole after processing.
Can I use this SVG with my CO₂ or diode laser?
Use the SVG workflow supported by your controller and confirm that your plywood, including its adhesive and thickness, is approved for the machine. Verify the imported dimensions and test cutting and engraving on scrap of the same stock.
Can I resize the ornament or sell the ones I make?
Scale the profile, hole and engraved art together. Check that your cord fits and that there is enough wood between the hole and the outer edge. You may sell the finished ornaments you make. See the README for digital-file terms.