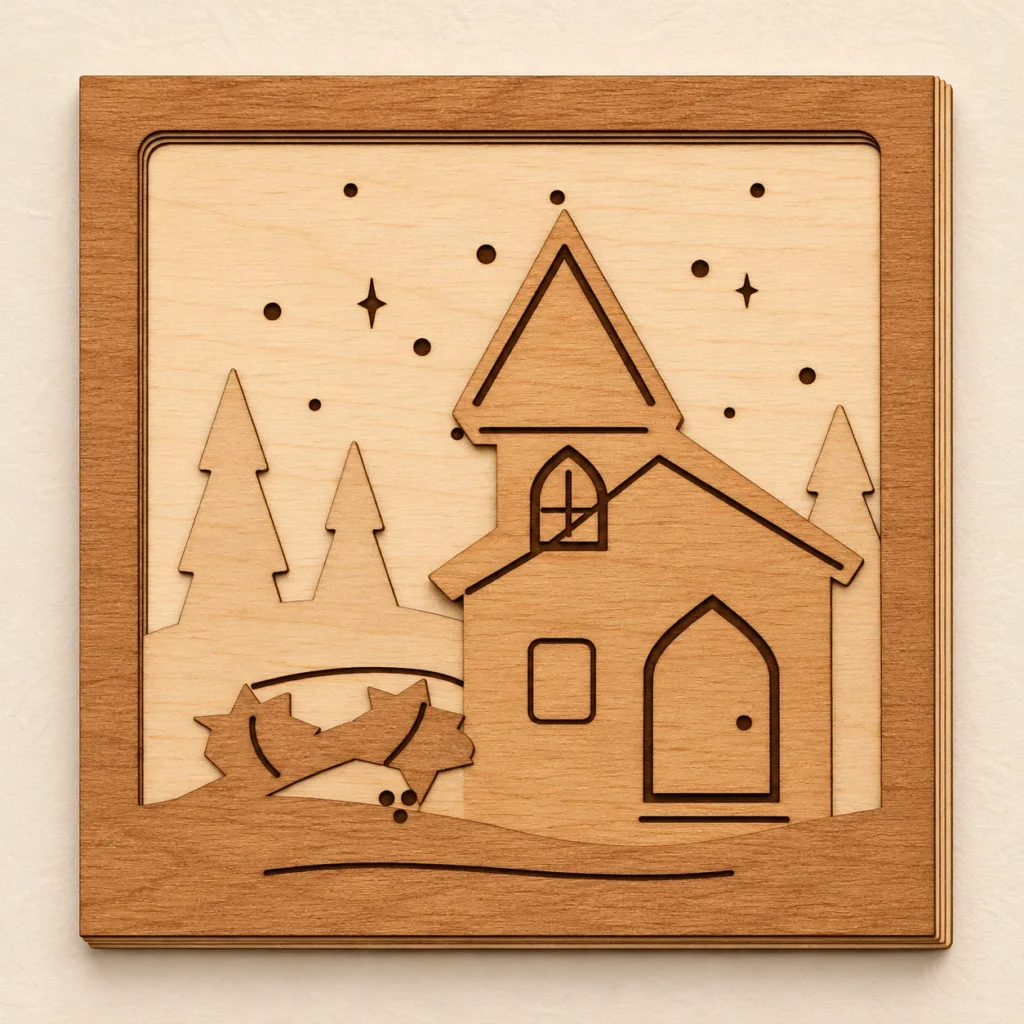
A chapel in the snow
A steeple rises over the firs
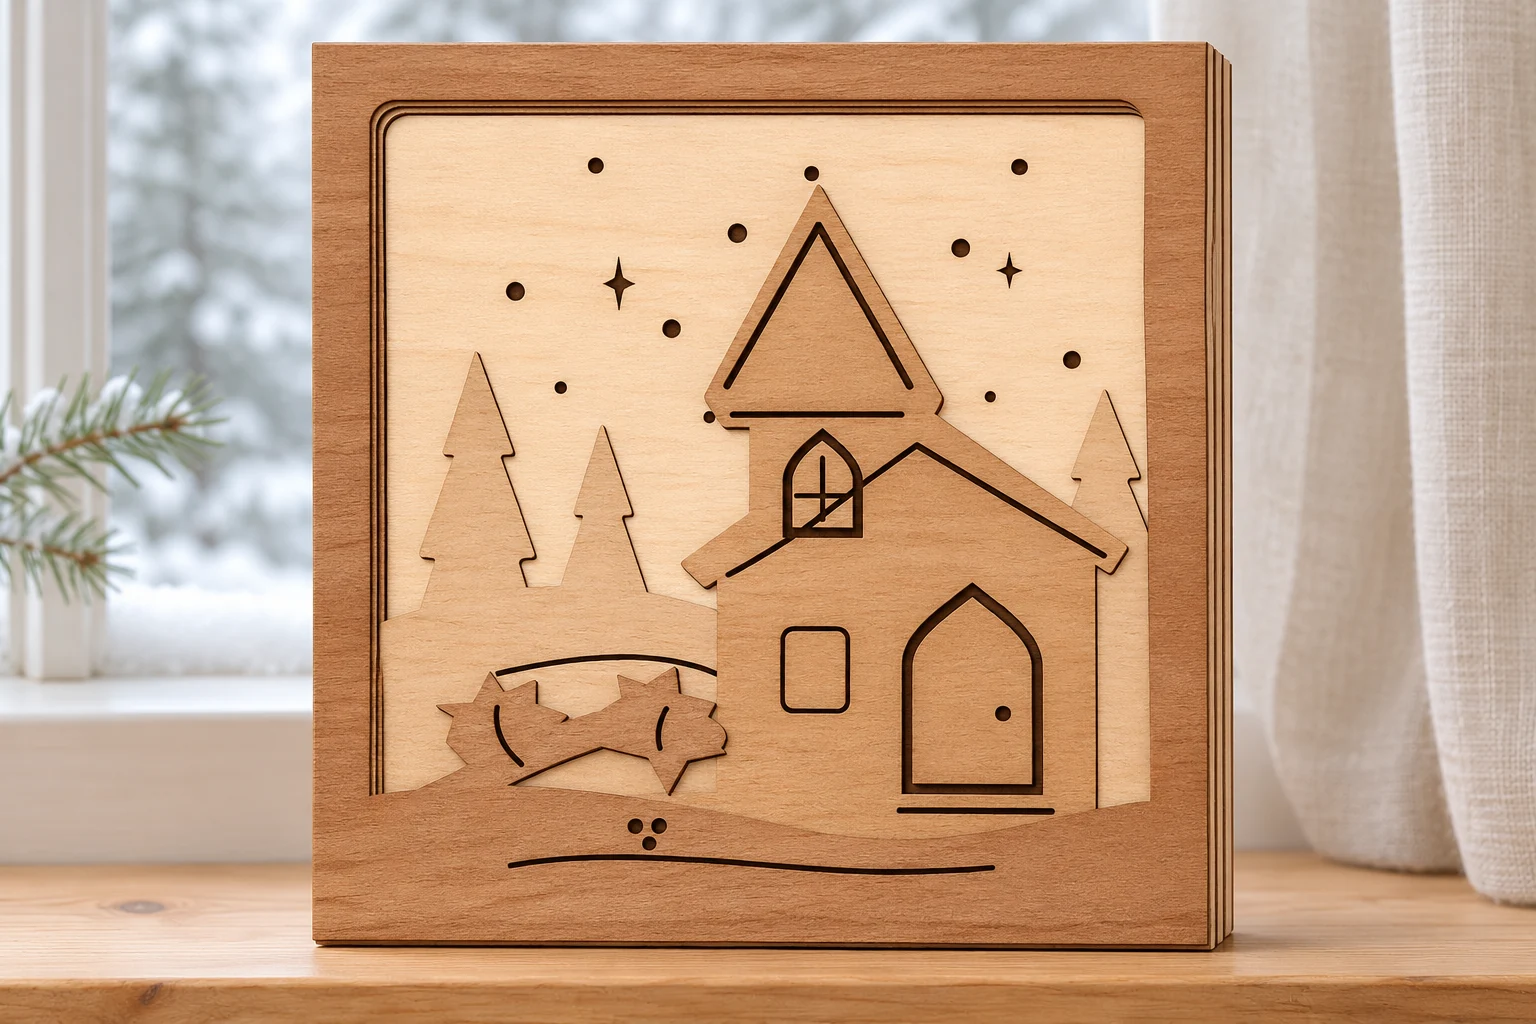
Holly Hush Chapel is a Christmas chapel shadow box SVG with a steep steeple and pointed arched window. A sprig of holly sits at the foot of the snow-dressed chapel, with firs in the distance.
An arched window below the steeple
The chapel sits to the right, offset by a low holly sprig on the left. Its pointed window and doorway repeat the angle of the roof. Firs and the hillside show through the wider opening behind the facade.
The ZIP contains digital files. Supply your own wood, finish, adhesive and display hardware.
Sizes and layer order
| Download | 01-front.svg, 02-middle.svg, 03-background.svg, 04-backing.svg, README.txt and assembly-map.png in a ZIP |
|---|---|
| Finished footprint | 120 × 120 mm per layer |
| SVG page size | 130 × 130 mm per SVG |
| Front to back | 01 near snowbank and holly, 02 chapel exterior and steeple, 03 firs and hillside, 04 engraved winter sky on a solid backing. |
| Red cut paths | Closed 0.025 mm centerline strokes for the outer profiles and any interior openings |
| Black engraving | Pointed chapel window and doorway details, with winter sky marks on the backing. |
| Stock | Uncoated plywood approved for the exact laser and operations. Nominal 3 mm plywood gives an approximately 12 mm bare stack before adhesive or finish. |
| SKU | VD-HHC-SBX |
Dimensions describe the vector geometry before kerf. The thickness of the assembled piece depends on the stock and adhesive you use.
Cut and assemble the scene
-
Import and check scale
Extract the ZIP. Open each numbered SVG at the supplied size and compare its outer profile with the millimeter dimensions above before machining. Confirm that the steeple and its finer details retain their expected width after import. Use the operation map to distinguish any interior cuts from surface engraving.
-
Assign the cuts and engraving
Set red to through-cutting and any black fills to engraving. Where the software supports the order, run engraving first, cut the interior openings next, then release the outer profiles. Use a test coupon from the same stock to check engraving, kerf and the smallest opening before machining the panels.
-
Dry fit and assemble
Align the outer edges and dry fit all four layers. Add suitable adhesive at the contact areas after machining. Keep the stack flat during curing. Dry fit the chapel and landscape layers. Look straight at the facade to confirm the arch and steeple are clear before bonding the stack.
The geometry was verified digitally. Make a physical prototype to check cut quality, layer fit and the final display method before producing multiples.
Prepare the SVGs for your machine
Glowforge. Upload each SVG in the Glowforge app. Confirm the 120 mm cut profile, assign red to Cut and any black fills to Engrave, then check the operation order. If both cuts appear in one step, make a working copy with a different stroke color for the perimeter. Assign that color to Cut and place it last. Glowforge SVG upload · Glowforge operation order
xTool Studio or XCS. Use the software your model supports. Compare each imported cut profile with the 120 mm specification and check the SVG import DPI if the size differs. Assign red vectors to Cut and any black fills to Engrave. xTool vector import guide
Epilog. Import the SVGs into Pulse on supported models and firmware. If you use a supported vector editor and Dashboard, retain the centered 0.025 mm red strokes and confirm that the driver recognizes them as vector cuts. Route any black fills to engraving. Epilog Pulse setup guide · Epilog Dashboard vector jobs
CO₂ or diode lasers. Use the SVG workflow supported by your controller. In LightBurn, assign red to a cutting Line layer and any black fills to an engraving Fill layer. Confirm that your machine supports both the wood and the adhesive used to make the plywood. Establish settings with a test coupon and follow your manufacturer’s exhaust and supervision instructions. LightBurn SVG import
Common questions
What comes with the digital download?
The ZIP contains 01-front.svg, 02-middle.svg, 03-background.svg, 04-backing.svg, README.txt and assembly-map.png. Cut from the SVGs and check the order on the map. Supply stock, adhesive and any display hardware.
Can I use contrasting wood tones for the chapel and trees?
Yes. Use stock of the same planned thickness for each layer and check that each wood and adhesive in the plywood is approved for your laser. Test every stock separately and dry fit the stack before adding adhesive.
Can I use the files with a CO₂ or diode laser?
Use the SVG workflow your controller supports and stock approved for your laser. Match the outer dimensions across layers. Test cutting, engraving and fit on matching scrap.
Can I resize the project or sell the scenes I make?
Scale all layers together. Check small details, connector widths and fit again. You may sell finished pieces you make. See the README for the digital file terms.