A careful measure. A moment to make.
Workshop sign SVG.
Give the workbench its own place.
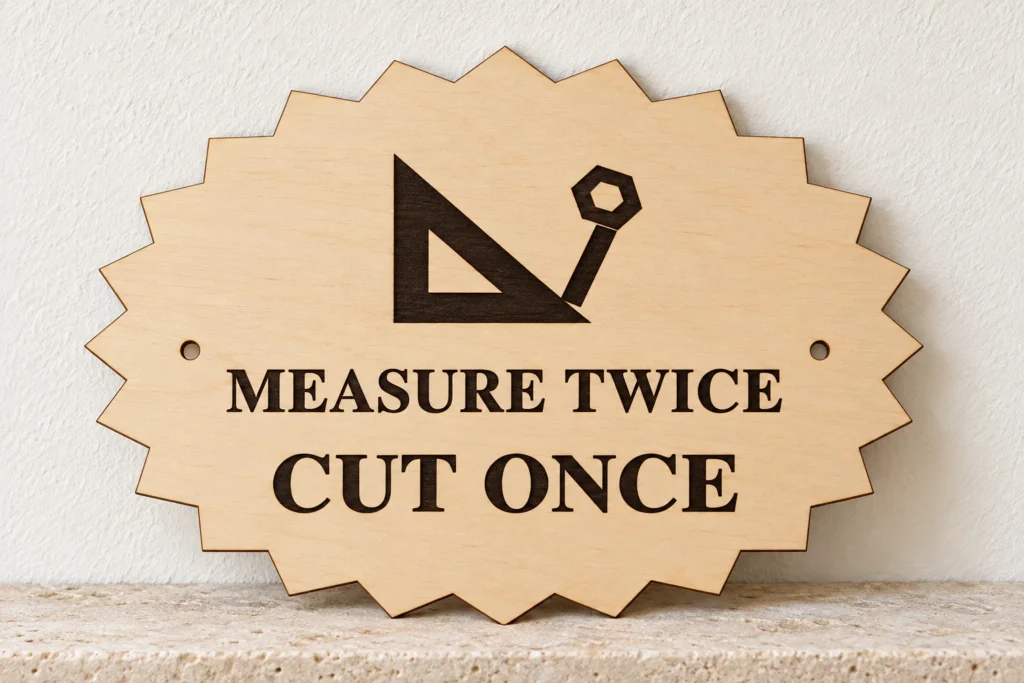
Bench & Bolt is an original workshop sign SVG for one 240 × 170 mm solid plaque. The supplied lettering reads MEASURE TWICE CUT ONCE, with an original engraved emblem and two 4 mm mounting holes. The black artwork engraves into the surface; the red paths cut the holes and perimeter. Choose your own approved stock and finish.
A familiar workshop motto.
A detail made for the bench.
Bench & Bolt gives a practical work area its own visual identity with the fixed MEASURE TWICE CUT ONCE message. Display the finished decorative plaque above a workbench or near tool storage, using a secure method suited to your sign and wall. Choose your own laser-approved stock and finish to suit the workspace.
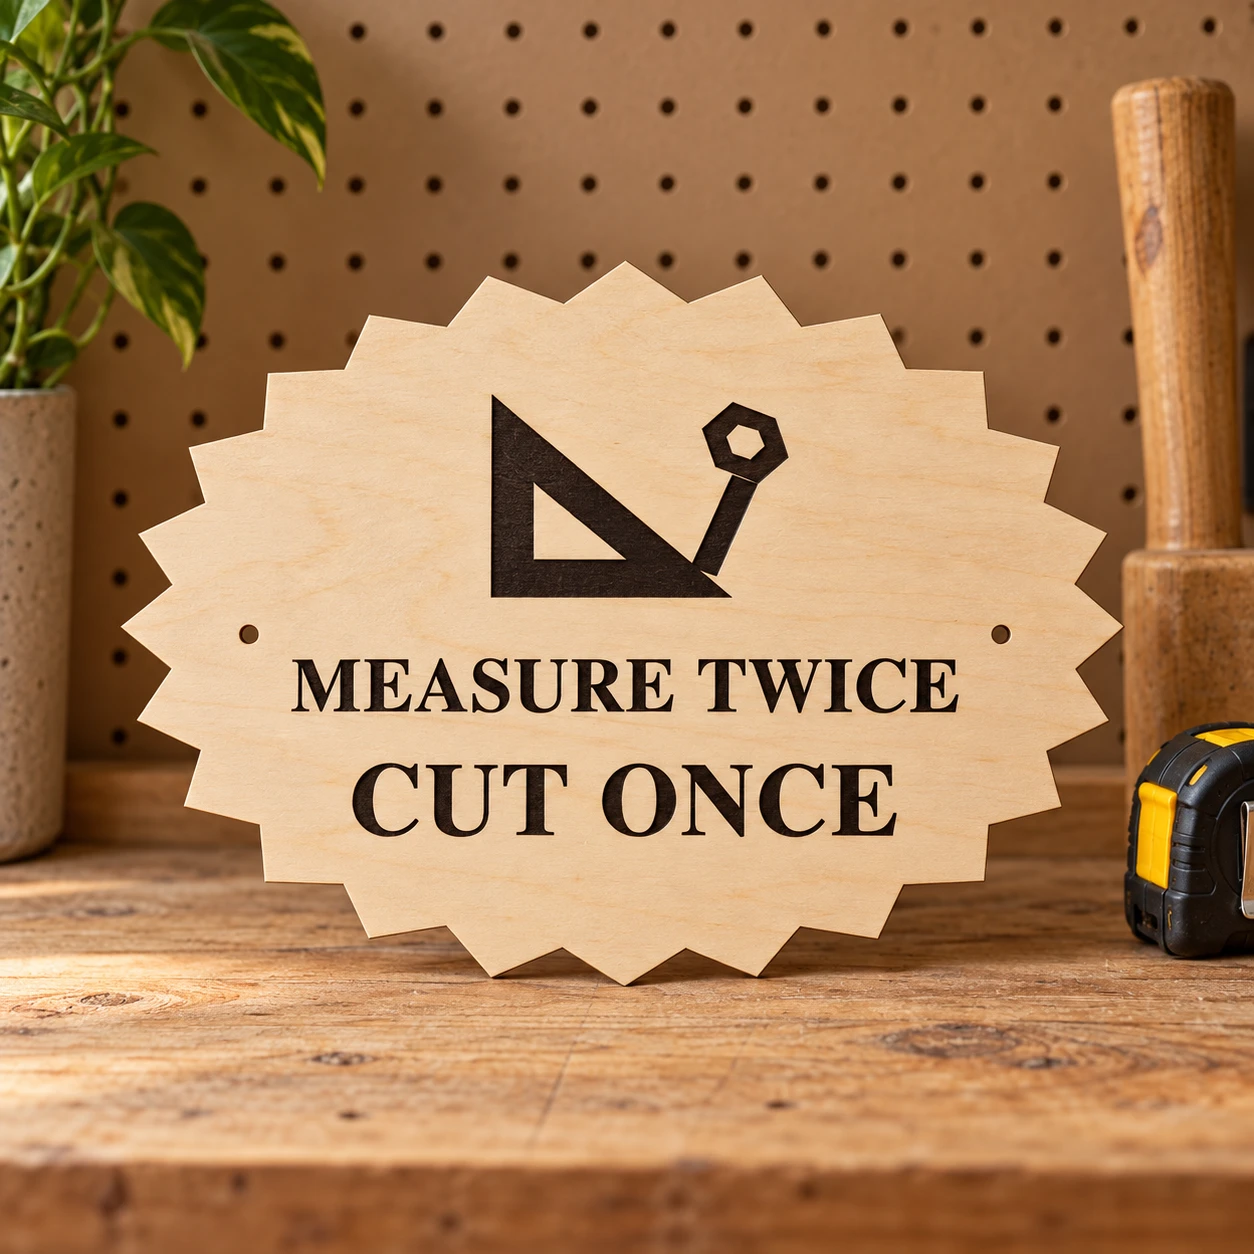
The elliptical saw-tooth gear plaque frames the carpenter square and bolt. Lettering and emblem engrave on the same solid face, while the outer boundary and two mounting holes are cut.
The images illustrate a possible finish and setting. This is a digital download; finished signs, stock, paint, cord, mounting hardware, tools and styling props are not included.
One plaque. Clear operations.
The details before you make.
| Included files | Three SVGs supplied as combined and split operation alternatives, an English README, font attribution/license, engineering facts and three reference PNGs: nine files in one ZIP |
|---|---|
| Finished outside size | 240 × 170 mm before kerf and finishing |
| SVG page size | 252 × 182 mm; 6 mm margin on every side; one viewBox unit is one millimetre |
| Construction | One solid plaque with engraved text and emblem; no raised lettering, separate face or backing layer |
| Fixed lettering | MEASURE TWICE CUT ONCE; static outlined vector artwork, with no editable text, font binary or alphabet |
| Cutting operations | 3 closed red (#FF0000) contours per plaque: two mounting holes and one outer boundary; centered 0.025 mm strokes with no fill |
| Engraving operations | 22 black (#000000) filled path objects, containing 27 closed subpaths; letter counters remain unengraved spaces |
| Mounting holes | Two 4 mm holes, without kerf compensation; centres at (31, 87) mm and (209, 87) mm from the finished outline’s top-left bounding-box corner |
| File alternatives | Use the combined SVG once OR the aligned engrave-only and cut-only files once each. Processing all three repeats operations |
| Other file details | No scoring, live text, raster content, linked assets, transforms, filters, masks or clips in machining SVGs |
| Material planning | 3 mm sheet thickness is an example only; no thickness-specific joints. Verify actual stock, machine approval, engraving contrast and hardware |
| Product type | Digital download only; physical signs, material, paint, cord, mounting hardware, tools and styling props are not included |
| Display suitability | Decorative workshop plaque only; the toothed outline and square/bolt engraving are not a working saw, calibrated measuring tool, fastening part or load-bearing fitting. Decorative plaque only; no functional tool, hardware storage or load-bearing fitting is supplied. Keep it clear of cutting tools, moving equipment and heat sources. The motto does not replace your equipment instructions. |
| Product code | VD-BB-SL |
From vector to surface.
A considered finish.
-
Import and confirm the actual size
Use
combined-layout.svgonce, or useengrave-only.svgandcut-only.svgonce each as aligned alternatives. Do not process all three together; they repeat the same design. Confirm the actual outer boundary is 240 × 170 mm, with 4 mm holes. The larger document page includes margins. If using split files, preserve the same origin and scale; check alignment in the processing preview. -
Engrave first, then cut
Assign the 22 black filled path objects to area engraving, with no outline cut. Assign the three red contours to vector Cut. Engrave while the stock is held flat, then cut the two holes and the outside perimeter last where supported. Software may change operation order, so inspect the preview for duplicates and unexpected fills.
-
Test, finish and display
Start with material tests and a full prototype in stock approved for your exact laser and wavelength. Check the lettering, cut edges, hole size and your chosen hardware. Finish the stock as appropriate and select a display method suitable for the actual sign, location and supporting surface.
This design has not been physically test-cut, engraved, assembled or mounting-tested. Stock, kerf, finish, hold-down and hardware affect the result. Make a complete prototype and inspect your own mounting method before display, gifting or production. Decorative plaque only; no functional tool, hardware storage or load-bearing fitting is supplied. Keep it clear of cutting tools, moving equipment and heat sources. The motto does not replace your equipment instructions.
Before you begin.
Answers for your first sign.
What is included with this workshop sign SVG?
The ZIP contains combined-layout.svg, cut-only.svg, engrave-only.svg, README.txt, FONT-LICENSE.txt, cut-map.png, reference.png, combined-layout-reference.png, engineering-facts.json. Use combined-layout.svg once, or use engrave-only.svg and cut-only.svg once each as aligned alternatives. Do not process all three together; they repeat the same design. Reference PNGs explain the design and dimensions; they are not machining files.
Are the letters engraved, cut out or editable?
The lettering and emblem are black filled vectors intended for area engraving into the solid plaque face. The two mounting holes and outside perimeter are the only cuts. Text is fixed, outlined artwork with preserved counters, so no font is required. No editable text, alphabet, separate raised letters, face layer or backing layer is supplied.
What size is the sign, and how does it mount?
The actual outer boundary is 240 × 170 mm; the SVG page is 252 × 182 mm with 6 mm margins. The two nominal 4 mm hole centres are (31, 87) mm and (209, 87) mm from the finished outline’s top-left bounding-box corner. No kerf allowance, screw-head specification, cord, load rating or mounting hardware is supplied. Choose and test a suitable method for your sign and display surface.
Can I resize the design?
Scale all artwork proportionally. If using the split alternatives, keep the same scale and page origin for both. Resizing changes the mounting holes, engraved detail and clearances; verify the new dimensions and make a fresh prototype before production. No thickness-specific joinery is included.
How do I prepare the SVGs for Glowforge, xTool, Epilog or another laser?
Glowforge: Upload the SVG through the app supported by your exact model. Verify the physical dimensions and set black shapes to Engrave and red outlines to Cut.
xTool Studio / XCS: In supported current Studio versions, use Import image or Upload for SVG; Open project is for project files. The older XCS interface uses Image for vector import. Check scale and assign operations for the installed laser module.
Epilog: On supported machines and firmware, Pulse can open an SVG and configure engraving and cutting. For graphics-software/driver workflows, preserve centered 0.025 mm vector cut strokes and use your model’s supported driver or Dashboard. Direct SVG import is model dependent.
Other CO₂/diode systems: LightBurn imports SVG vectors where your controller and firmware are supported. Confirm dimensions, filled engraving and line cutting after import.
For every workflow, check the exact machine, source wavelength, work area, approved material and job preview. File import does not establish universal material compatibility. Test your stock and make a complete prototype; no universal power, speed or pass count is supplied.
Which material, thickness and settings should I use?
Use sheet stock approved for your exact machine, laser source and wavelength. The 3 mm thickness is a planning example only; verify actual thickness, composition, coatings, flatness and usable bed size. Natural laser plywood may suit the illustrated finish where approved. CO₂ and diode systems have different material capabilities; do not assume clear or pale acrylic can be cut by your laser. Do not process PVC/vinyl or unknown plastics. Follow the maker’s extraction, supervision and fire-prevention guidance. No universal power, speed or pass count is supplied. This design has not been physically test-cut, engraved, assembled or mounting-tested, and exterior durability has not been established.
Can I sell the finished signs I make?
Yes. Personal projects and sales of finished physical signs you make are permitted. Do not resell, share, give away, sublicense or redistribute the digital files, modified digital files or digital parts, including in another digital bundle. The included README contains the artwork usage terms; source lettering attribution and license are provided separately. No physical sign or materials are supplied.