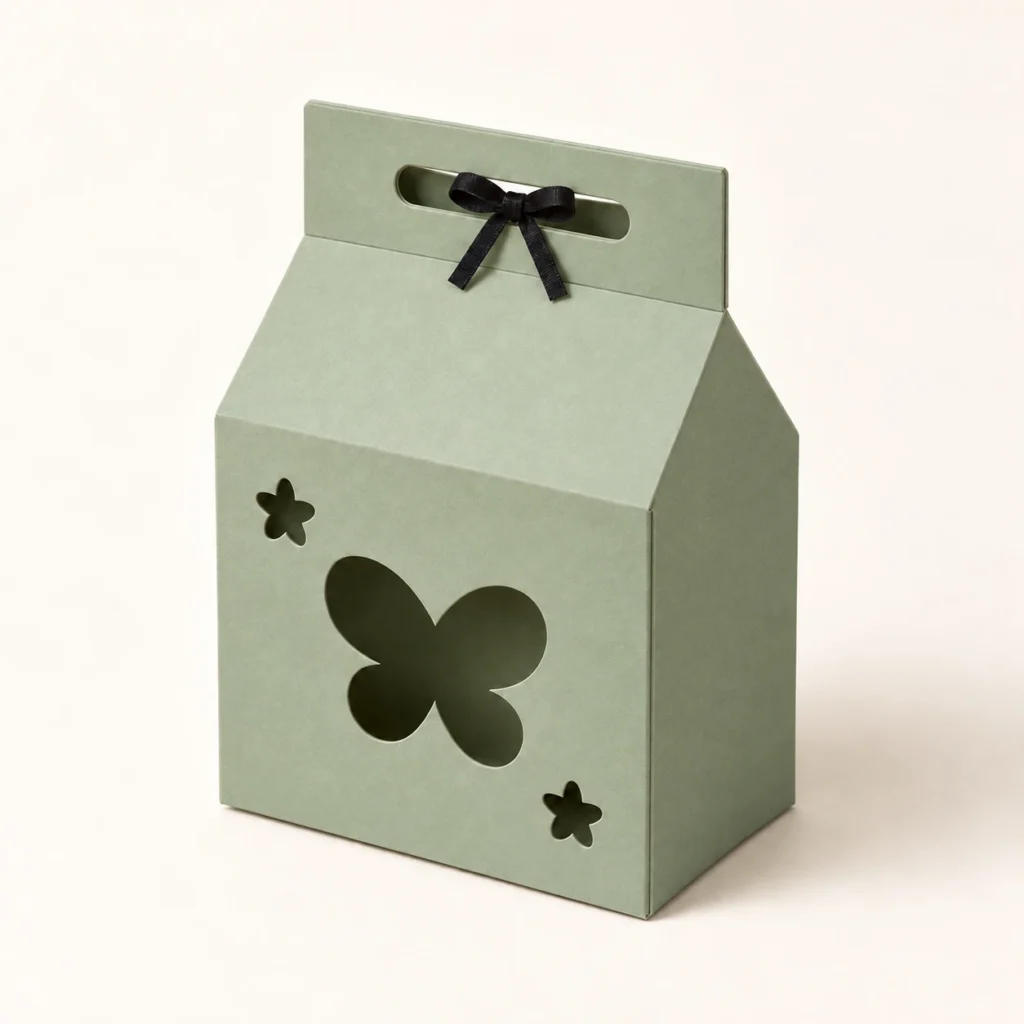
A little colour. A thoughtful gesture.
A gable box SVG.
A gift with wings.
Flutter Post is an original butterfly gable box SVG for foldable cardstock. A decorative front and paired handle openings give the package a garden-inspired character, while its cut-and-score net provides the structure for a small handmade gift. The side seam and bottom are glued; a user-supplied ribbon through the paired handles is required to retain the roof. The ZIP includes one scalable SVG, an English preparation and assembly guide, and an annotated fold map. Original SVG page: 210 × 130 mm; flat artwork: 202 × 118 mm.
A small gesture.
A graceful finishing touch.
A butterfly brings a light, playful detail to thoughtful giving. Flutter Post pairs a classic gable-box form with an original cutout arrangement for spring celebrations, party favours and small keepsakes. Choose your own approved cardstock and finishing ribbon to make a personal presentation.
The front panel has one butterfly window and two five-petal flower windows; the back is solid. One connected net folds into four walls, a glued base and a gabled top with paired handle flaps. The decoration is cut through the cardstock, rather than printed or engraved. Wrap small or delicate contents separately where needed, because the decorative windows are open.
The images illustrate a possible finished appearance. A physical box, cardstock, adhesive, ribbon, gift contents, lining and styling props are not included.
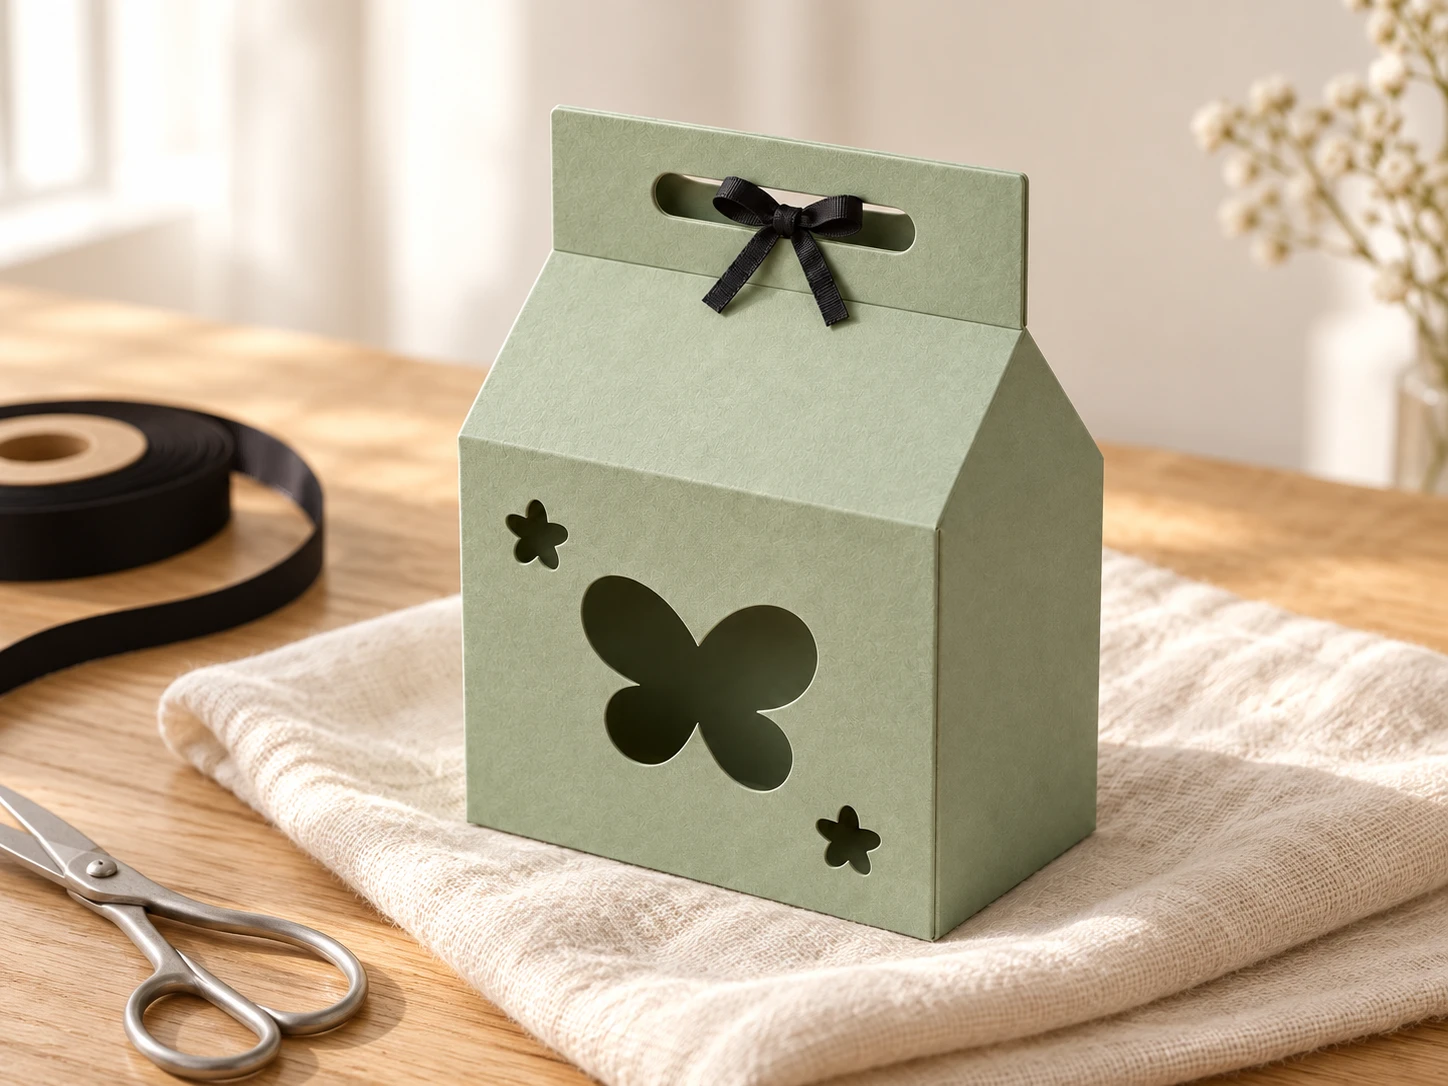
A considered structure.
A clear file to prepare.
| Included files | One scalable SVG vector file, one English README and one annotated fold-map PNG, packaged in a ZIP archive |
|---|---|
| SVG page | 210 × 130 mm at original scale |
| Flat artwork bounds | 202 × 118 mm before stroke width; confirm the usable work area of your machine |
| Nominal body | 60 × 35 × 50 mm before cardstock thickness, kerf and fold allowances; not a guaranteed internal size |
| Wall layout | Front 60 mm, side 35 mm, back 60 mm and side 35 mm; each wall is 50 mm high |
| Glue flap | 12 mm side-seam allowance |
| Handle openings | Two aligned 30 × 6 mm rounded apertures; user-supplied ribbon through both openings is required to retain the roof |
| Cut operations | 6 red (#FF0000), centered 0.025 mm closed contours: outer net, butterfly window, two five-petal flower windows and two handle openings |
| Score operations | 12 blue (#0000FF), centered 0.025 mm open paths: four corner/seam, four bottom, two roof and two handle folds |
| Construction | One foldable cardstock net with a glued side seam and bottom; upright side gables support the roof, with no self-locking closure or separate lid |
| File construction | Separate CUT and SCORE groups; no engraving, fonts, linked images or embedded raster artwork |
| Intended material | Flexible uncoated cardstock approved for the exact laser and wavelength; not a rigid wood or acrylic construction |
| Product type | Digital download only; finished packaging, stock, adhesive, ribbon, gift contents and props are not included |
| Product code | VD-FP-GB |
Prepare. Fold.
Add your finishing touch.
-
Confirm the layout
Extract the ZIP and import the SVG. Verify the 210 × 130 mm page and 202 × 118 mm flat artwork bounds. The nominal body is 60 × 35 × 50 mm before material and fold allowances; check the four wall panels and the 12 mm glue flap against the guide. Use the annotated fold map to identify each panel and flap before processing.
-
Separate the operations
Assign the blue fold paths to a separately tested shallow score and the red contours to cutting. Score first, cut the internal openings next, and release the outside net last. Alternatively, disable output for the blue group and hand-crease the guide’s fold lines after cutting.
-
Assemble a prototype
Pre-crease the 12 folds and glue the side seam as shown in the fold map. With the box upside-down, fold S1 and S2 inward first, B next and F last, gluing the overlapping contact faces. Let the adhesive cure. Keep the side gables upright, align the two handle flaps and tie a ribbon through both openings to retain the roof. Test the closure and your intended wrapped contents before making a batch. Do not treat decorative handles as a tested carrying or load-bearing feature.
This design has not been physically test-cut, scored or assembled. Finished size, strength, usable capacity and closure fit depend on stock, kerf, fold radius and assembly. No universal material thickness or machine settings are supplied.
Your gift, carefully presented.
The practical details.
What files will I receive?
The ZIP includes flutter-post-butterfly-gable-gift-box.svg, README.txt and fold-map.png. The SVG is the cutting and scoring artwork. The English README explains preparation, assembly and use terms; the annotated PNG is a reference guide, not a laser-processing image.
Is this a wooden box or a finished product?
No. Flutter Post is a digital template for foldable cardstock. You provide approved material, adhesive, ribbon and any contents. Its folds and glued construction are not designed for rigid wood, plywood or acrylic.
How do the decoration and handles work?
The front panel has one butterfly window and two five-petal flower windows; the back is solid. The two top handle apertures align when the roof is formed. Tie a user-supplied ribbon through both to keep the top together; they are not a tested carrying or load-bearing feature. These are open cutouts, not printed or engraved decoration. Protect small contents with a suitable inner wrap if needed. A liner or wrapping material is not supplied.
How do I assemble and resize the gable box SVG?
Follow the fold map to pre-crease all 12 folds. Bond the outward face of the right glue tab to the inside of the front panel’s free left edge. With the box upside-down, fold S1 and S2 inward, B (back) next and F (front) last. Glue the inside face of F to the exposed outside faces of the overlapping back and side flaps. Let the adhesive cure. Keep the integral side gables upright, fold the front and back roof panels over their slopes, bring the handle flaps together and tie a ribbon through both aligned openings. Scale the complete design proportionally when resizing; the flaps, openings and glue allowances scale too. Make another prototype and check fit before producing a batch. A ribbon is required for roof retention. There are no self-locking tabs or slots; the handles and finished box have not been load-tested.
How do I prepare the file for Glowforge, xTool or Epilog?
Glowforge: Upload the SVG in the Glowforge App and confirm the 202 × 118 mm net fits your model’s usable work area. Assign red contours to Cut and blue folds to Score. Keep scoring settings separate from cutting, and inspect the complete job preview.
xTool Studio/XCS: Use software supported by your exact model and check that its work area accommodates the net. Studio’s SVG import DPI setting can affect initial dimensions. Verify scale, assign red to Cut and blue to Score, then test the shallow folds on scrap stock.
Epilog: Open the SVG in suitable vector software and use the driver or Dashboard workflow for your exact model. In Illustrator, retain centered 0.025 mm vector strokes. Set the blue folds to a separate light vector pass from red through-cuts. Follow your model’s hairline guidance when using CorelDRAW.
Other CO₂/diode systems: Where LightBurn supports the actual controller, import the SVG and use different Line layers for cutting and shallow scoring. Check scale, available work area and Preview. A CO₂ or diode source alone does not establish software, controller or cardstock compatibility.
If a suitable shallow score is unavailable, turn off output for the blue SCORE group, cut only the red contours and hand-crease using the fold map. Do not process the guide PNG as an engraving.
Which cardstock and settings should I use?
Choose foldable, uncoated stock whose manufacturer confirms suitability for your exact machine and laser wavelength. Check coatings, inks and any adhesive against the equipment instructions and material documentation. Glowforge’s material guidance explains why paper compatibility needs individual confirmation.
Test cutting and shallow scoring on scrap stock, then make an assembly prototype. Apply adhesive and ribbon after laser processing. Follow ventilation and continuous supervision guidance; keep the bed clear of scraps. No universal power, speed or pass count is provided. The design is not represented as food-safe, waterproof, shipping-rated or suitable for heavy contents.
Can I sell physical boxes I make?
Yes. Personal projects and sales of finished physical boxes you make are permitted. Do not resell, share or redistribute the digital files or modified digital versions. See the README for usage terms. Finished packaging, stock, adhesive, ribbon and contents are not included in the download.