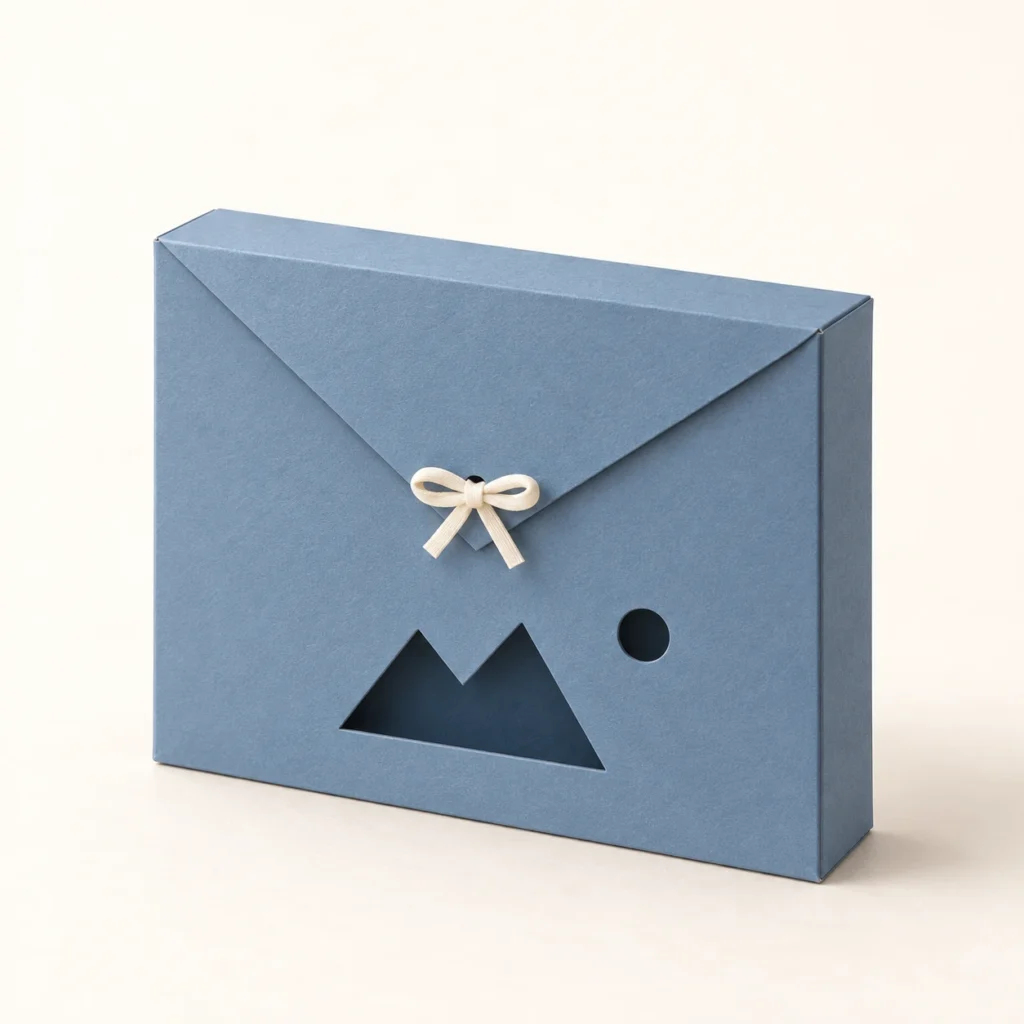
Small gifts. A little horizon.
A mountain envelope box SVG.
A quieter way to give.
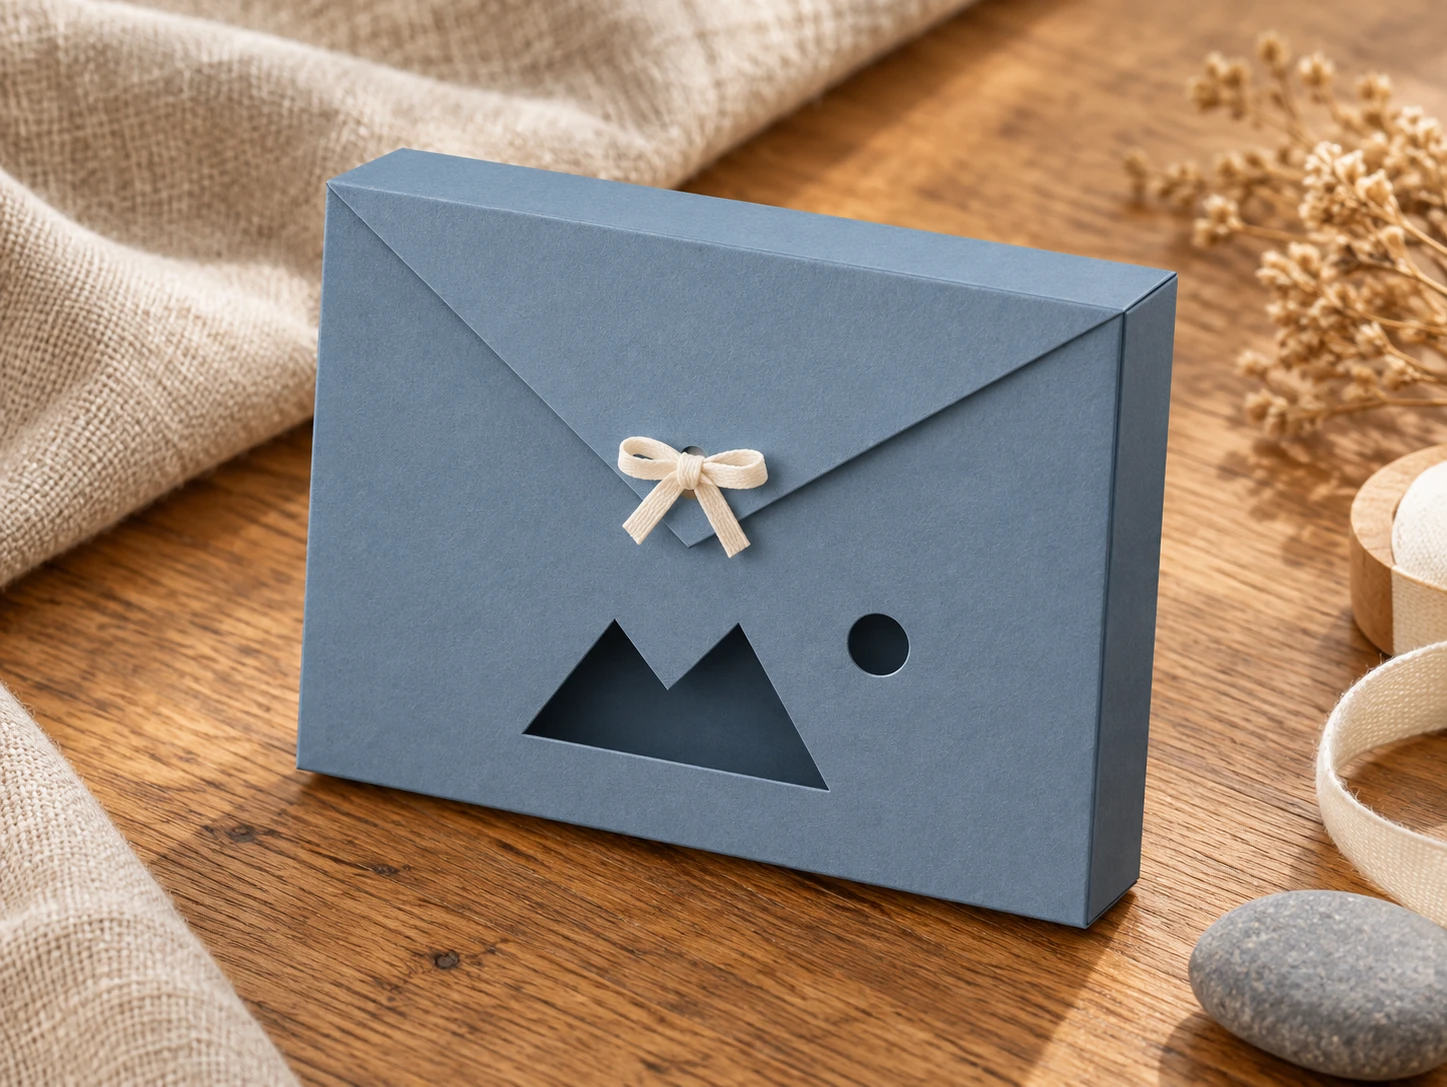
Mountain Dawn is an original mountain envelope box SVG for foldable cardstock. A connected twin-peak window and a small sun window sit below its triangular front flap. The shallow gusseted body uses glued side tabs and requires your own ribbon with an inside stopper knot and outside bow for retention. The ZIP includes one scalable SVG, an English preparation and assembly guide, and an annotated fold map. Original page: 140 × 200 mm; flat artwork: 120 × 184 mm.
A quiet horizon.
A thoughtful little parcel.
A simple landscape can make a small gift feel personal. Mountain Dawn combines original mountain-inspired artwork with a shallow envelope-box form for nature-loving keepsakes and careful gift presentation. Choose an approved cardstock and your own ribbon for a quiet finishing touch.
A 32 × 18 mm connected mountain window and a separate 6 mm round sun window are cut through the lower front. There are no interior snowcap lines, ridges or engraved details. The back is solid. A continuous bottom gusset and two glued side gussets form the shallow body, while a top cap bridges its depth beneath the triangular flap.
The images illustrate a possible finished appearance. Physical packaging, cardstock, adhesive, finishing materials, contents and styling props are not included.
A clear layout.
A considered construction.
| Included files | One scalable SVG vector file, one English README and one annotated fold-map PNG, packaged in a ZIP archive |
|---|---|
| SVG page | 140 × 200 mm at original scale |
| Flat artwork bounds | 120 × 184 mm before stroke width; confirm the usable work area of your machine |
| Nominal body (W × H × D) | 80 × 65 × 12 mm before cardstock thickness, kerf, adhesive and fold allowances; not guaranteed internal dimensions or capacity |
| Construction | Continuous 12 mm bottom gusset, two 12 mm side gussets with 8 mm glue tabs, a solid back, top depth cap and triangular flap |
| Required closure | User-supplied doubled ribbon anchored by an inside stopper knot larger than the 3 mm front hole; both tails feed out through the front and aligned flap hole before tying outside |
| Front windows | One 32 × 18 mm connected twin-peak mountain window and one 6 mm round sun window |
| Cut operations | 5 red (#FF0000), centered 0.025 mm closed paths: outside net, mountain window, sun window and two ribbon holes |
| Score operations | 8 blue (#0000FF), centered 0.025 mm open paths: four side/tab, two bottom and two cap/flap folds |
| File construction | Separate CUT and SCORE groups; no engraving, fonts, linked images or embedded raster artwork |
| Intended material | Foldable uncoated cardstock approved for the exact equipment and wavelength; not a rigid wood or acrylic construction |
| Product type | Digital download only; finished packaging, stock, adhesive, contents and styling props are not included |
| Product code | VD-MD-EB |
Check. Fold.
Tie your finishing touch.
-
Confirm the complete layout
Extract the ZIP and import the SVG. Verify the 140 × 200 mm page and 120 × 184 mm artwork bounds. The nominal body is 80 mm wide, 65 mm high and 12 mm deep before stock and fold allowances. Check both 8 mm glue tabs and the two 3 mm ribbon holes. Keep all cut and score paths together.
-
Separate the operations
Assign blue folds to a separately tested shallow score and red contours to cutting. Score first, cut internal openings next and release the outside boundaries last. Alternatively, disable blue during laser work and hand-crease the guide’s folds after cutting.
-
Assemble your own sample
Pre-crease eight lines. While FRONT is flat, fold your ribbon in half, make a bulky stopper knot in the doubled portion and feed both tails from inside to outside through the front hole. Form the gussets and raised front; glue the outward tab faces to the inside front-edge strips and let them cure. Close the top cap and flap, pass both tails through the aligned flap hole and tie outside. Check the fit with your intended light, wrapped contents before making a batch.
This design has not been physically test-cut, scored or assembled. Finished fit, capacity, strength and closure performance depend on stock, kerf, fold radius, adhesive and assembly. No universal material or machine settings are supplied.
Your next little parcel.
The practical details.
What files will I receive?
The ZIP includes mountain-dawn-envelope-gift-box.svg, README.txt and fold-map.png. The SVG contains the cutting and scoring artwork. The English README covers preparation, assembly and use terms; the annotated PNG is a reference guide, not a laser-processing image.
What will I make?
A shallow cardstock envelope gift box with a nominal body of 80 × 65 × 12 mm (width × height × depth) before material and folding allowances. It has an integral bottom gusset, glued side tabs and a triangular flap. A user-supplied ribbon with an inside stopper knot and snug outside bow is required; there is no self-locking latch, and ribbon and adhesive are not included. This is a digital template, not a finished box. You provide the approved material and assembly supplies listed in the guide.
How do the landscape windows and ribbon closure work?
The mountain and separate round sun are open windows below the closed flap, not printed or engraved marks. Wrap small contents separately where needed. The ribbon needs a bulky inside stopper knot that cannot pass through the actual 3 mm front hole. Feed both tails out of the front while it is flat, then through the aligned closed-flap hole and tie a snug outside bow. An outside bow alone is not the specified retaining method.
How do I assemble and resize this mountain envelope box SVG?
Follow the fold map and keep the supplied front-artwork orientation: it is intentionally reversed in the flat net and becomes upright after folding. Prepare a doubled ribbon with a bulky inside stopper knot while FRONT is accessible; the knot must not pass through the 3 mm hole, and both free tails feed out through the front. Fold the side gussets, bottom gusset and front into position. Glue the outward faces of the 8 mm side tabs to the inside front-edge strips and allow the seams to cure before loading. Fold the top cap across the depth, bring the triangular flap down, pass both tails through its aligned hole from underneath and tie a snug outside bow. The inside anchor is required; the closure is not load-rated. Scale the complete design proportionally when resizing; the windows, tabs, holes and fold allowances change too. Assemble a new prototype before producing a batch.
How do I prepare the file for Glowforge, xTool or Epilog?
Glowforge: Upload the SVG, check the 120 × 184 mm artwork and usable work area, then assign red to Cut and blue to separate Score settings. Review the preview.
xTool Studio/XCS: Use software supported by your model. SVG import DPI can affect scale; verify dimensions. Assign red Cut and blue Score separately and test shallow scoring.
Epilog: In Illustrator, use centered 0.025 mm strokes and separate score/cut settings. Follow your exact model’s driver or Dashboard guidance.
Other CO₂/diode systems: With a supported controller, import into LightBurn and use different Line layers for red cutting and blue shallow scoring. Check Preview. Laser source alone does not establish controller or material compatibility.
If a suitable shallow laser score is unavailable, disable output for the blue SCORE group, cut only red contours and hand-crease using the fold map. Do not process the guide PNG as an engraving.
Which cardstock and settings should I use?
Confirm the stock and any coatings with its manufacturer and your exact machine’s documentation. Glowforge’s material guidance explains why approval depends on the actual paper and laser.
Test cutting and shallow scoring on scrap, then assemble a prototype. Add adhesive and finishing materials after laser processing. Follow ventilation and continuous supervision guidance. No universal thickness, power, speed or pass count is provided. The design is not represented as food-safe, waterproof, shipping-rated or suitable for heavy contents.
Can I sell physical boxes I make?
Yes. Personal projects and sales of finished physical boxes you make are permitted. Do not resell, share or redistribute the digital files or modified digital versions. See the README for usage terms. Physical materials, contents and styling props are not included.