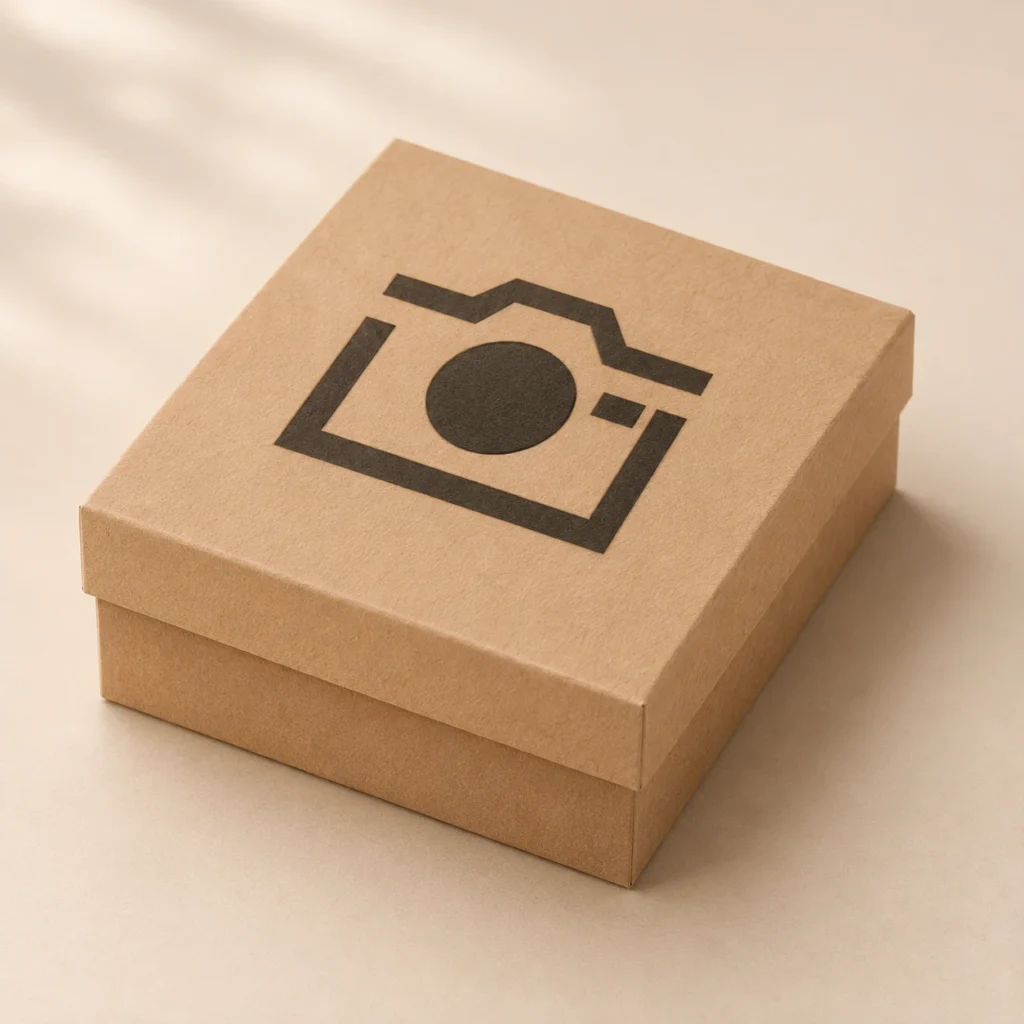
A camera in graphic form. A thoughtful small box.
Camera gift box SVG.
A small frame for a keepsake.
Shutter Keepsake is an original camera gift box SVG for flexible, laser-approved uncoated cardstock. Two separate cardstock nets: one base and one removable lid, arranged 6 mm apart. The SVG page is 210 × 125 mm and the net/artwork bounds are 202 × 110 mm. The download includes the vector source, an English assembly and laser-preparation guide and an annotated fold map. Black decoration is surface engraving; blue folds require tested shallow scoring or hand-creasing.
A graphic camera lid.
A quiet photography theme.
Shutter Keepsake adds a graphic camera motif to the lid of a two-piece square cardstock box. Its four surface-engraved shapes form a camera-inspired composition above a plain folded base. Make a material-specific prototype before planning the contents; the theme describes the decoration and does not imply that a camera will fit inside.
A stylized camera made from four separate filled surface marks: stepped viewfinder band, lower U-shaped frame, round lens disc and rectangular flash. Open areas are unengraved cardstock, not cutouts. No enclosed decorative cut-through windows are supplied. The red cutting paths define one outside base boundary and one outside lid boundary. A removable lid without a latch or self-locking closure. The 62 × 62 mm lid top is 2 mm wider than the 60 × 60 mm base floor before allowances; actual fit must be prototyped.
The images illustrate a possible finished appearance and setting. Digital SVG, English guide and annotated fold map only; finished boxes, cardstock, ribbon, adhesive, contents, tools and styling props are not included.
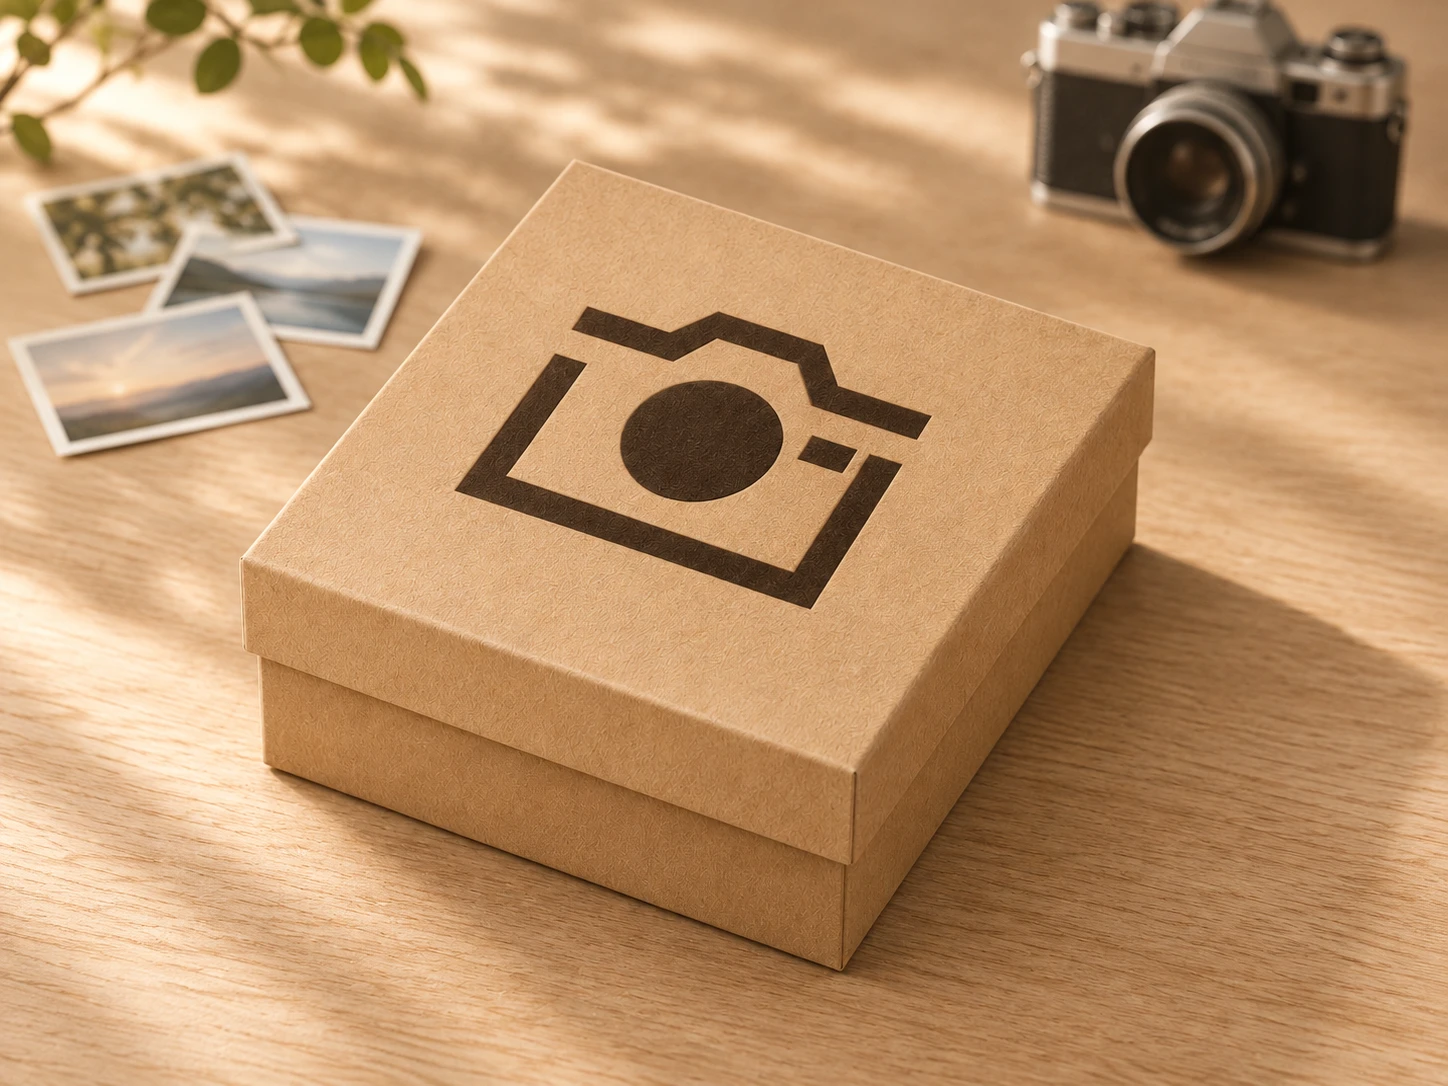
Separate base and lid.
Dimensions for your prototype.
| Download | ZIP containing exactly three files: shutter-keepsake-camera-square-gift-box.svg, README.txt and fold-map.png; machine from the SVG and use the annotated PNG as a reference |
|---|---|
| SVG page and net bounds | 210 × 125 mm page; 202 × 110 mm net/artwork bounds before stroke width; allow machine-required sheet-edge and fixture clearance |
| Nominal base panels | 60 × 60 × 25 mm base floor and wall references; lid top 62 × 62 mm with 12 mm walls. Base net 110 × 110 mm and lid net 86 × 86 mm. Nominal panel differences are not guaranteed finished internal clearance or capacity. |
| Layout | Two separate cardstock nets: one base and one removable lid, arranged 6 mm apart |
| Construction | Four walls and four clipped glue tabs on each piece, eight tabs in total. Base tabs are 10 mm deep and lid tabs 7 mm deep, with 0.8 mm corner-root relief. Keep base and lid at the same scale. |
| Surface decoration | A stylized camera made from four separate filled surface marks: stepped viewfinder band, lower U-shaped frame, round lens disc and rectangular flash. Open areas are unengraved cardstock, not cutouts (4 black filled shapes) |
| Cut and fold operations | 2 red (#FF0000) closed unfilled CUT contours; 16 blue (#0000FF) open SCORE paths, both with centered 0.025 mm strokes; 4 black (#000000) closed filled ENGRAVE shapes without strokes. Test blue as shallow surface scoring or disable the entire blue group and hand-crease using the fold map. Never through-cut blue folds. Black decoration is light surface engraving, not cutting; disable engraving if it cannot be performed safely on the approved stock. |
| Fold breakdown | 8 base folds and 8 lid folds: four floor-to-wall folds and four glue-tab folds per piece |
| Closure | A removable lid without a latch or self-locking closure. The 62 × 62 mm lid top is 2 mm wider than the 60 × 60 mm base floor before allowances; actual fit must be prototyped. |
| Material | Flexible, uncoated cardstock positively identified and approved for the exact machine, laser wavelength and chosen cutting, scoring and engraving processes; no universal thickness is specified. This is a folded-cardstock design, not a rigid wood, plywood or acrylic box. |
| File construction | Path-based SVG with physical dimensions in mm, named CUT, SCORE and ENGRAVE groups; no live fonts, raster or linked images, masks, filters or machine presets |
| Product code | VD-SK-SB |
Engrave the lid artwork.
Fold two coordinated pieces.
-
Verify the import
Extract the ZIP and import the SVG at 100%. Verify the 210 × 125 mm page and 202 × 110 mm net. Confirm that the exact cardstock is approved, the full design fits the usable bed and all three operation groups remain registered.
-
Test each operation
Assign red to cutting; test blue as a separate shallow score or disable all blue paths and hand-crease. Assign black fills to optional tested light engraving. Inspect Preview. Where supported, complete decoration and safe scoring before closure apertures and outside boundaries; check actual job order.
-
Assemble a complete prototype
Separate the 110 × 110 mm base net from the 86 × 86 mm lid net after cutting. Each has four floor-to-wall folds and four tab folds; the artwork belongs on the outside top of the lid. Pre-crease its eight folds, raise the four walls and tuck each clipped tab inside its adjacent wall. Apply a suitable adhesive to the outward face of each tab so it bonds to the inside wall. Keep the 60 × 60 mm floor square while it cures. Follow the complete shape-specific sequence in the assembly FAQ and supplied English guide. A removable lid without a latch or self-locking closure. The 62 × 62 mm lid top is 2 mm wider than the 60 × 60 mm base floor before allowances; actual fit must be prototyped.
This design has not been physically test-cut, test-scored, test-engraved, assembled, adhesive-tested, fit-tested, closure-tested or load-tested. Test scrap, then make a complete prototype with your actual software, machine, approved cardstock, crease method and adhesive before producing a batch. No universal laser preset is supplied.
A photography-inspired box.
Answers before you make.
What files will I receive?
The ZIP contains shutter-keepsake-camera-square-gift-box.svg, README.txt and fold-map.png. The source has 2 red cut contours, 16 blue fold paths and 4 black filled surface-engraving shapes in named groups. The English guide covers import, operation mapping, material checks, assembly, closure and usage terms. The annotated fold map is a reference image, rather than a machining file. Alternate formats, machine presets and physical goods are not included.
Is this a finished box, and what size can I make?
This is a digital folded-cardstock template, rather than a physical box. 60 × 60 × 25 mm base floor and wall references; lid top 62 × 62 mm with 12 mm walls. Base net 110 × 110 mm and lid net 86 × 86 mm. Nominal panel differences are not guaranteed finished internal clearance or capacity. The images illustrate a possible finished appearance and setting. Digital SVG, English guide and annotated fold map only; finished boxes, cardstock, ribbon, adhesive, contents, tools and styling props are not included. The decoration describes a theme, not the size of an item that will fit. No finished-capacity, protective-packaging, shipping, food-contact or load-rating claim is supplied.
Which lines are cut, folded or engraved?
Red contains one outside base boundary and one outside lid boundary. Blue contains 8 base folds and 8 lid folds: four floor-to-wall folds and four glue-tab folds per piece. Keep both line groups as centered 0.025 mm strokes. Test blue only as a shallow surface score, or disable the entire blue group and hand-crease using the map; never through-cut the folds. Black contains 4 filled shapes for optional light surface engraving, not holes or outline cuts. If engraving is unsuitable for the approved cardstock, disable it. Never use a display image as the cutting file.
How do I prepare it for Glowforge, xTool, Epilog or another laser?
Glowforge: Upload the SVG in the app supported by your exact model. Verify the page and net dimensions and map red to Cut. Inspect Simplify Strokes and the preview for thin blue fold paths. Use only a separately tested shallow Score setting, or set the entire blue group to Ignore and hand-crease from the map. Black fills are optional, tested light Engrave decoration. Colour alone does not establish settings.
xTool Studio / XCS: Use software supported by your model. Studio SVG import DPI and XCS import resizing can affect scale. Verify all dimensions. Map red to Cut, blue to a separately tested shallow Score or disable blue and hand-crease, and black fills to optional light Engrave. Score follows paths and can cut through with excessive settings; never use the cutting settings for folds.
Epilog: Open the SVG in supported vector graphics software and use the current driver or Dashboard for your exact model. The documented Illustrator-to-Dashboard route needs centered vector strokes no wider than 0.025 mm. Retain the supplied 0.025 mm red and blue strokes and verify vector recognition. Separate red cutting from a tested shallow blue vector mark through supported colour mapping or separate jobs; otherwise disable blue and hand-crease. Black fills are optional raster engraving. This is a conditional software route, rather than a universal direct machine import.
Other CO₂ or diode equipment: Confirm controller, software and wavelength support for the actual stock. On supported LightBurn systems, import the SVG, verify scale and map red to a tested Line cut layer, blue to a separate tested shallow Line mark or disable it for hand-creasing, and black filled shapes to an optional tested Fill engraving layer. Inspect Preview and process decoration and any safe score before releasing the outer boundaries. The laser source alone does not establish compatibility.
Which cardstock and laser settings should I use?
Flexible, uncoated cardstock positively identified and approved for the exact machine, laser wavelength and chosen cutting, scoring and engraving processes; no universal thickness is specified. This is a folded-cardstock design, not a rigid wood, plywood or acrylic box. Check all dyes, coatings and additives. A display colour does not prove laser suitability. Use only stock approved by the manufacturer and exact equipment instructions; avoid unknown, metallic, glittered, laminated, coated, PVC/vinyl or prohibited materials. Follow the maker’s exhaust, supervision, hold-down and fire procedures. Add glue, ribbon and contents after laser processing.
Custom stock needs its own settings checks. No universal power, speed, thickness or pass count is supplied. Excess scoring or engraving can cut through or weaken card. This design has not been physically test-cut, test-scored, test-engraved, assembled, adhesive-tested, fit-tested, closure-tested or load-tested. Test scrap, then make a complete prototype with your actual software, machine, approved cardstock, crease method and adhesive before producing a batch. No universal laser preset is supplied.
How do I assemble, close or resize the box?
- Identify the two nets. Separate the 110 × 110 mm base net from the 86 × 86 mm lid net after cutting. Each has four floor-to-wall folds and four tab folds; the artwork belongs on the outside top of the lid.
- Assemble the base. Pre-crease its eight folds, raise the four walls and tuck each clipped tab inside its adjacent wall. Apply a suitable adhesive to the outward face of each tab so it bonds to the inside wall. Keep the 60 × 60 mm floor square while it cures.
- Assemble the lid. Repeat the eight-fold and four-tab construction for the lid, with the engraved camera facing outward. Keep the 62 × 62 mm top square and let the 12 mm walls cure fully before fitting it.
- Dry-fit the pair. The nominal panel difference is 2 mm overall, or 1 mm per side before stock, crease and adhesive allowances. Test the actual lid fit without forcing it. If adjustment is required, edit the appropriate allowance and make a new complete prototype; scaling the two nets independently changes the intended relationship.
A removable lid without a latch or self-locking closure. The 62 × 62 mm lid top is 2 mm wider than the 60 × 60 mm base floor before allowances; actual fit must be prototyped. Scale every structural part and operation together. Scaling changes tab widths, apertures, score spacing and overlaps without compensating for stock thickness, crease radius, kerf or adhesive. Make a new complete prototype after any change. Keep decoration registered with its panel. Choose only light intended contents after checking the actual closure.
May I sell finished physical items?
Personal projects and sales of finished physical items you make are permitted. Do not resell, share, give away, sublicense or redistribute the SVG, guide, reference image, modified digital files or digital parts, including in bundles or shared libraries. The README contains the usage terms; copyright ownership is not transferred.