Open pages. A little room for stories.
Open book earrings SVG.
A small detail for a reader.
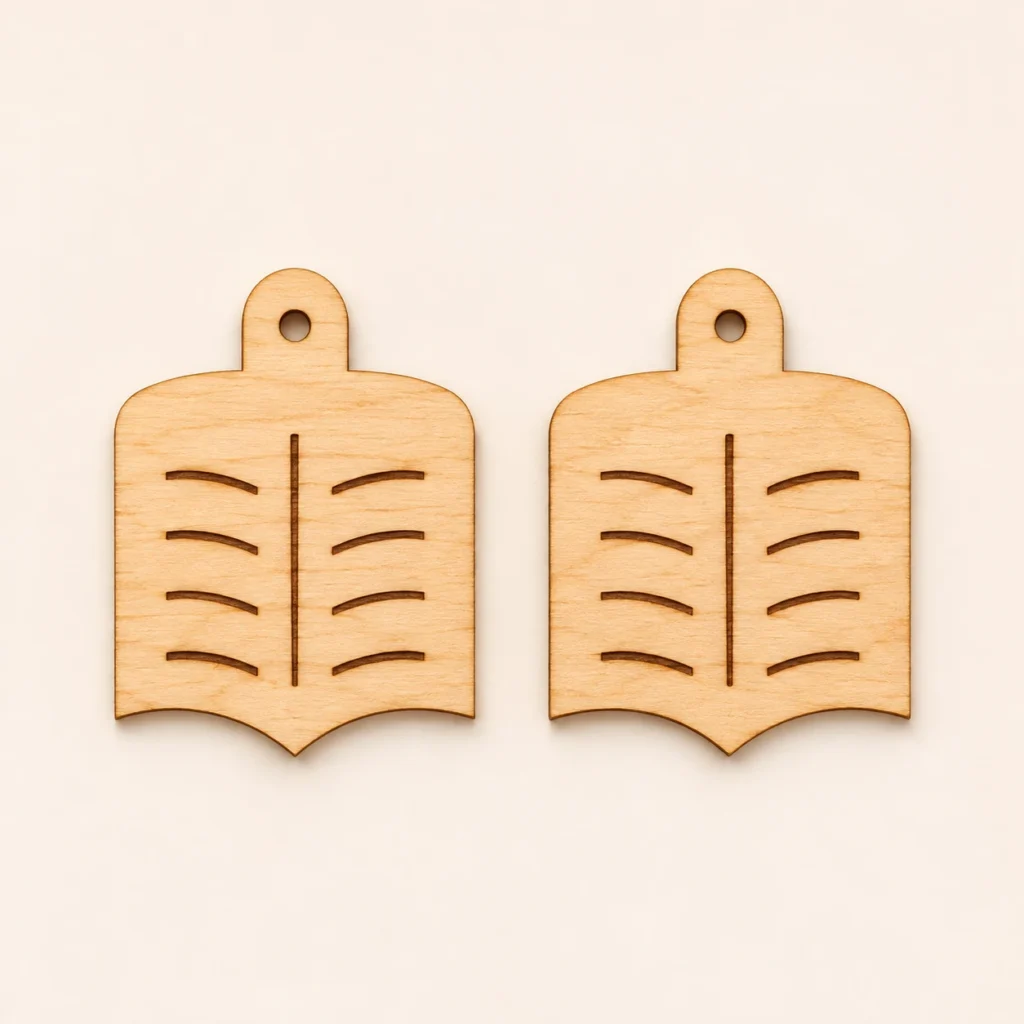
Storyleaf is an original open book earrings SVG for laser-approved sheet wood. An original open-book silhouette with gently curved page edges, an engraved central spine, eight curved page lines and an integrated rounded top hanging tab. The download supplies a mirrored pair of wood earring blanks, measuring 28 × 38 mm per blank before kerf and finishing, plus an English preparation guide and annotated cut map. Decorative black details are surface engraving; the suspension holes are the only interior through-cuts.
A spread of pages.
A literary jewelry motif.
Storyleaf brings the shape of an open book to a pair of wood earring blanks. The engraved page details suggest a familiar reading moment without relying on printed text. Choose approved wood and your own findings to make a literary pair for everyday wear or handmade gifting.
Nine filled engraving marks per blank: one central spine line and four curved page lines on each side. The hanging tab is 8 mm wide. Both page panels join as one solid blank; the spine and page lines are surface engraving rather than slits. Only the outer silhouettes and 2.5 mm suspension holes are cut through; all decorative marks remain on solid material. The nominal minimum hanging-hole rim is approximately 2.75 mm before kerf and finishing. That minimum alone does not determine ring size.
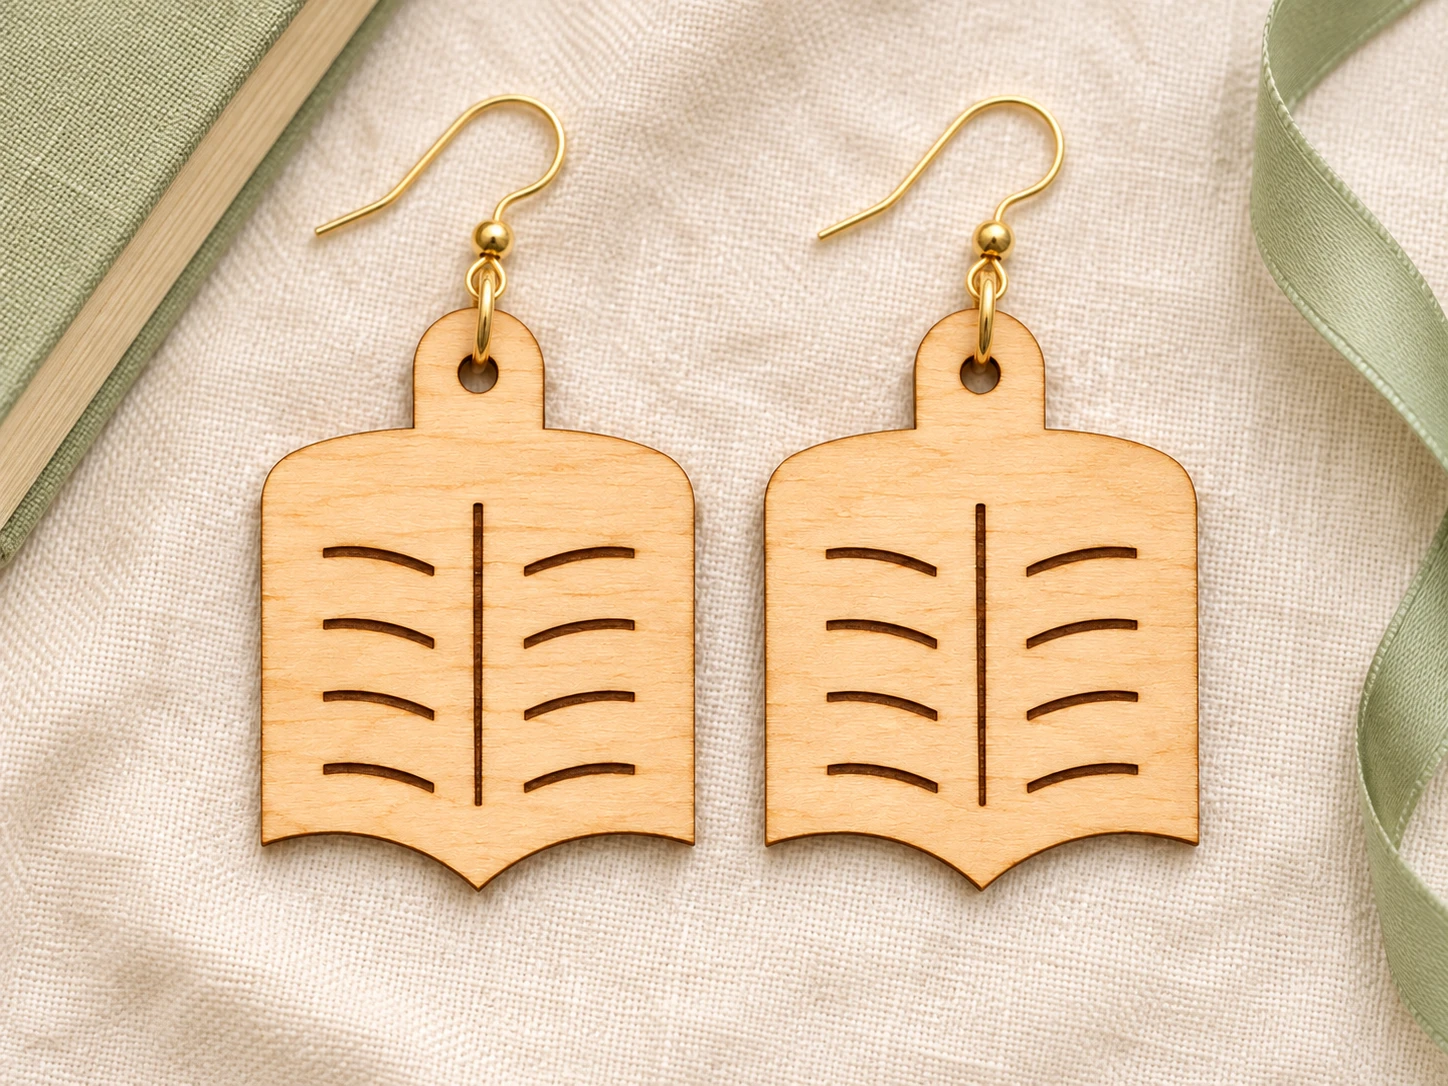
The images illustrate a possible finished appearance and setting. Digital SVG, English guide and annotated cut map only; finished jewelry, wood, hooks, rings, chain, cord, tools, finishing supplies and styling props are not included.
A mirrored arrangement.
Dimensions for your making plan.
| Download | ZIP containing exactly three files: storyleaf-open-book-earrings.svg, README.txt and cut-map.png; use the SVG for machining and the annotated PNG as a reference |
|---|---|
| Nominal blank size | 28 × 38 mm per blank; path-centerline dimensions before kerf and finishing; hardware adds to the finished size |
| SVG page and artwork bounds | 68 × 44 mm page; 62 × 38 mm artwork bounds before stroke width; allow required machine and fixture clearance |
| Layout | Two mirrored open book blanks; 6 mm between blanks; pair bounds 62 × 38 mm |
| Suspension hole | One 2.5 mm circular hole per blank; approximately 2.75 mm nominal minimum material rim before kerf; select findings for the actual finished attachment geometry |
| Construction | Two separate single-piece blanks with surface engraving; no decorative cutout openings, loose islands, separate layers or assembly parts |
| Surface decoration | Nine filled engraving marks per blank: one central spine line and four curved page lines on each side (18 filled shapes across the supplied layout) |
| Operations | 4 red (#FF0000), unfilled closed cut paths with centered 0.025 mm strokes: two outside silhouettes and two suspension holes; 18 black (#000000), closed filled surface-engraving paths without strokes. No fold or score paths. |
| Material | Identified sheet wood confirmed suitable by its manufacturer and your exact laser/wavelength instructions; no universal thickness or machine settings supplied |
| Findings | Your own jump rings and earring hooks; ring wire must fit the finished hole and the ring opening must clear actual stock thickness and measured hole-to-edge distance |
| File construction | Closed path-based SVG with dimensions in mm; no live fonts, raster or linked images, transforms, masks or filters |
| Product code | VD-SO-ER |
Engrave the page detail.
Complete your own pair.
-
Check the import
Extract the ZIP and import the SVG at 100%. Verify the 28 × 38 mm blank, 2.5 mm hole, 68 × 44 mm page and 62 × 38 mm artwork. Confirm approved stock, usable bed, fixture clearance and both operation groups.
-
Engrave before release
Assign all 18 black filled shapes to surface engraving and all 4 red contours to cutting. Inspect Preview and establish settings on a scrap. Where supported, engrave first, cut the suspension holes next and release the outside edges last.
-
Finish and fit the findings
Make a complete prototype in your approved wood. Check grain, edges and hanging areas, then smooth and finish using methods suited to the stock. Measure the finished attachment geometry and fit jump rings and earring hooks that clear it. An open-book motif for a handmade earring pair. Recheck the assembled connection before use.
This design has not been physically test-cut, test-engraved, finished, assembled or wear-tested. Test a scrap, then make a complete prototype with your actual software, machine, approved stock and findings before producing a batch. No universal laser preset is supplied.
From page to pair.
Consider the small details.
What files will I receive?
The ZIP contains storyleaf-open-book-earrings.svg, README.txt and cut-map.png. The SVG combines 4 cut contours and 18 filled surface-engraving shapes in named groups. The English guide covers dimensions, machine preparation, finishing, findings and usage terms. The annotated cut map is a reference image rather than a machining file. Alternate formats, presets and physical goods are not included.
Is this finished jewelry?
This is a digital download that supplies a mirrored pair of wood earring blanks. You provide the approved wood, finish and jump rings and earring hooks. The images illustrate a possible finished appearance and setting. Digital SVG, English guide and annotated cut map only; finished jewelry, wood, hooks, rings, chain, cord, tools, finishing supplies and styling props are not included.
What size is the design, and which details are cut through?
Each blank is 28 × 38 mm before kerf and finishing. The SVG page is 68 × 44 mm and the artwork bounds are 62 × 38 mm before stroke width. Two mirrored open book blanks; 6 mm between blanks; pair bounds 62 × 38 mm. Each blank stays solid apart from its 2.5 mm suspension hole. Nine filled engraving marks per blank: one central spine line and four curved page lines on each side. The black filled marks are surface engravings, rather than cut-through openings.
How do I prepare it for Glowforge, xTool, Epilog or another laser?
Glowforge: Upload the SVG in the app supported by your exact model. Verify blank and suspension-hole dimensions, assign red contours to Cut and black filled details to Engrave, and check Preview. Establish settings for your approved stock.
xTool Studio / XCS: Use software supported by your model. Studio SVG import DPI and XCS automatic resizing can affect scale. Verify the supplied dimensions after import and explicitly map red to Cut and black filled shapes to Engrave.
Epilog: Open the SVG in supported vector graphics software and use the driver or Dashboard for your exact model. For the documented Illustrator-to-Dashboard route, retain centered cut strokes no wider than 0.025 mm and confirm vector recognition. Keep black fills assigned to raster engraving. This is a conditional software route, rather than a universal direct machine import.
Other CO₂ or diode equipment: Confirm controller and software support. On supported LightBurn systems, import the SVG, check dimensions, map red to a tested Line cut layer and black filled details to a tested Fill engraving layer. Check Preview and operation order. The laser source alone does not establish controller, material or wavelength compatibility.
Which material and laser settings should I use?
Use only positively identified sheet wood approved for the exact machine and wavelength, including its glues and coatings. Custom stock needs its own settings checks. No universal thickness, power, speed or pass count is supplied. Follow your maker’s current exhaust, supervision and fire-safety instructions. This design has not been physically test-cut, test-engraved, finished, assembled or wear-tested. Test a scrap, then make a complete prototype with your actual software, machine, approved stock and findings before producing a batch. No universal laser preset is supplied.
Stock, grain, engraving depth, kerf and finishing affect weight, fit and strength. Reject cracked, sharp or weakened blanks. No skin-sensitivity, finished-weight or wearer-suitability claim is supplied.
Can I resize the design, and how do I choose findings?
Scale all paths together. Resizing changes the 2.5 mm hole, material bridges and engraved details. Check the new dimensions and every operation in Preview, then make a fresh prototype. Preserve the supplied mirrored pair. Measure the finished hole after cutting and finishing, then choose ring wire that passes through it. Choose ring inner diameter and opening range to clear the actual sheet thickness and measured material between the hole and outer attachment edge. The approximately 2.75 mm nominal minimum rim alone does not determine ring size. Fit your jump rings and earring hooks without forcing hardware through the wood, and recheck the connection before use.
May I sell finished physical items?
Personal projects and sales of finished physical items you make are permitted. Do not resell, share, give away, sublicense or redistribute the SVG, guide, reference image, modified digital files or digital parts, including in bundles or shared libraries. The README contains the usage terms; copyright ownership is not transferred.